Important Note! Please be aware 6x firmware is in beta stage. Use 6x at your own risk. SOCIFI is not able to provide you with any support related to 6x. Should you experience any issues with 6x, please contact Open Mesh directly. This compatibility is experimental.
It is required to upgrade all nodes (APs) in the network and upgrade CloudTrax version to version 4. To upgrade firmware from version 4xx to 6xx and upgrade CloudTrax Dashboard you need to follow the recommendations in the settings in the CloudTrax Dashboard. Tested on Firmware version 6.0 (Beta 1), 6.0 (Beta 5), 6.0 (Beta 7)
Known issues with beta firmware:
- 6.0 (Beta 7)
Walled Garden functionality doesn't work properly, Read more at Captive Portal is not loading properly (Cap100)
Possible solution: Restarting Open-Mesh device (several times)
1. CloudTrax dashboard
Login to the CloudTrax portal version 4: https://ct4.cloudtrax.com/login

2. AP identification and firmware version
Check firmware version first. Firmware version must be 6.0 at least. Note the MAC address of AP for later use.

3. SSID configuration
Go to Configure tab and select SSID (1-4) you want to configure. Enter SSID name, enable it (Enable = on) and make it visible (Visible = on). "Authentication" leave unchecked (Authentication = off).

4. Captive portal & Radius server settings
Captive portal settings follow. Enable "Bandwidth throttling" and set maximal limits. Bandwidth limits are set in the SOCIFI Dashboard and applied dynamically during authentication.

Set the next "Splash page configuration" options as follows:
| Splash page | Hosted remotely |
|---|---|
| Splash Page URL | http://connect.socifi.com |
| Splash page authentication | RADIUS |
| Server address 1 | <dns-name-of-primary-socifi radius-server-by-region> |
| Server address 2 | <dns-name-of-seconary-socifi radius-server-by-region> |
| Server secret | socifi |
| NAS ID | OM6xx_yourDeviceMacAddress for example: OM6xx_AC8875415EF8 |
We recommend to use this set of RADIUS servers:
5. Walled Garden
In the next part set Walled Garden, access for unauthenticated users. Enable "Block unauthenticated users" (Block unauthenticated users = on) option and fill in the Walled Garden gap with domain names as listed below:
If you are customer with White Label solution, please add your custom domain (for example mycustomdomain.com) to the Walled Garden list.
socifi.com
facebook.com
akamaihd.net
akamai.net
edgecastcdn.net
twitter.com
twimg.com
fastly.net
li-cdn.net
cloudfront.net
fbcdn.net
instagram.com
cdninstagram.com
linkedin.com
licdn.com

Leave other options in the default settings (see the picture below).

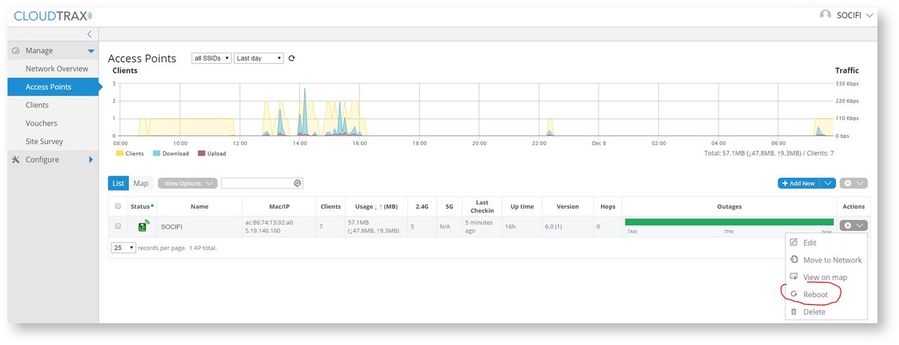
The setting of the node is done now. All changes will appear within 1 - 2 minutes (as stated in the alert after saving the changes). To assure correct settings reboot all nodes (APs). You can reboot the nodes remotely in the CloudTrax, go to menu "Manage / Access Points" and select an appropriate node and reboot it.
6. Add a new hotspot to SOCIFI Dashboard
In a hardware manufacturer selection use OpenMesh 6x.
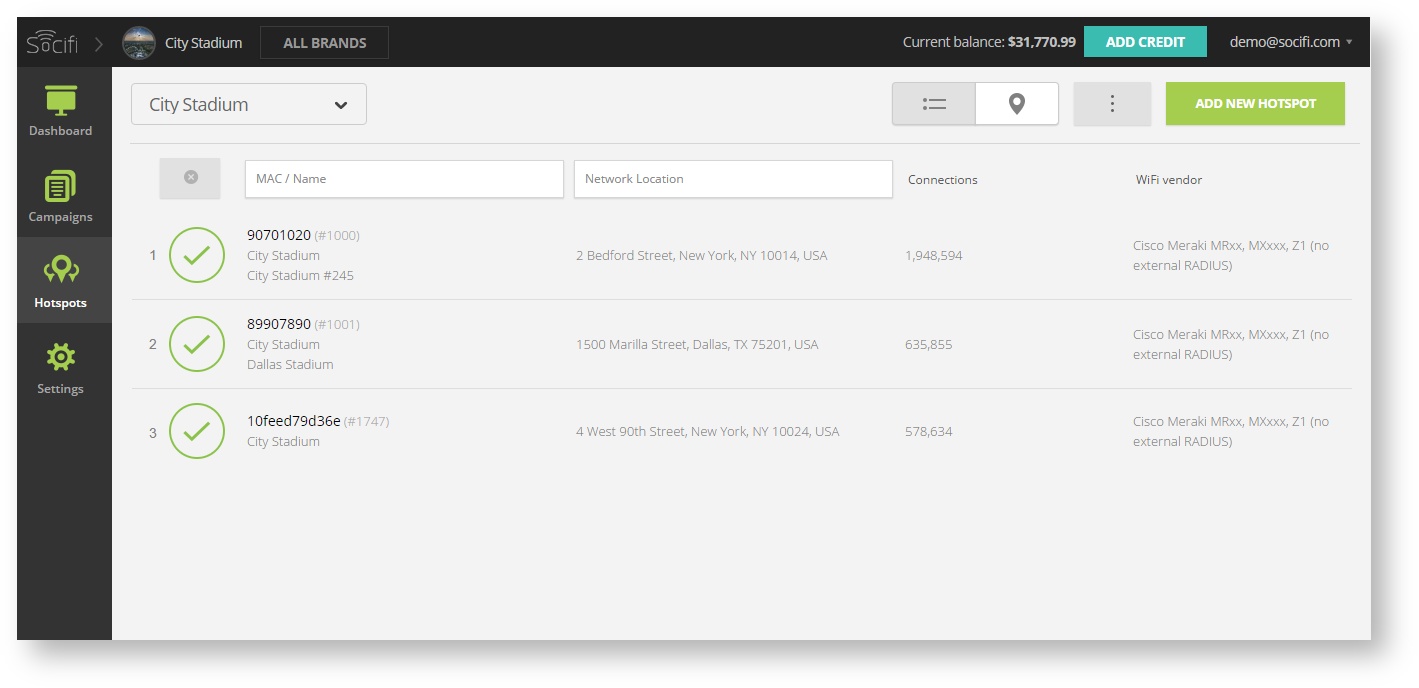
Step 1: Login to SOCIFI Dashboard
Step 2: Click on the "Hotspots" tab on the left sidebar
Step 3: Click on the “Add a new hotspot” button located on the top right corner on the screen (pictured below)
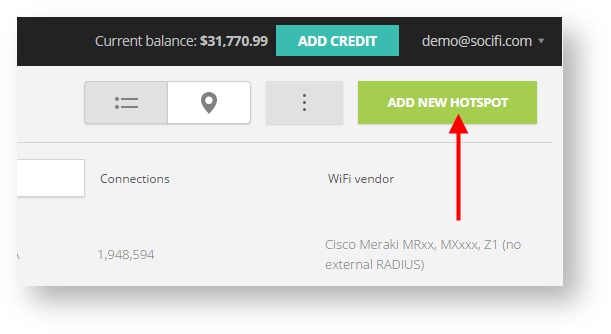
Note: A pop-up window will appear (below)
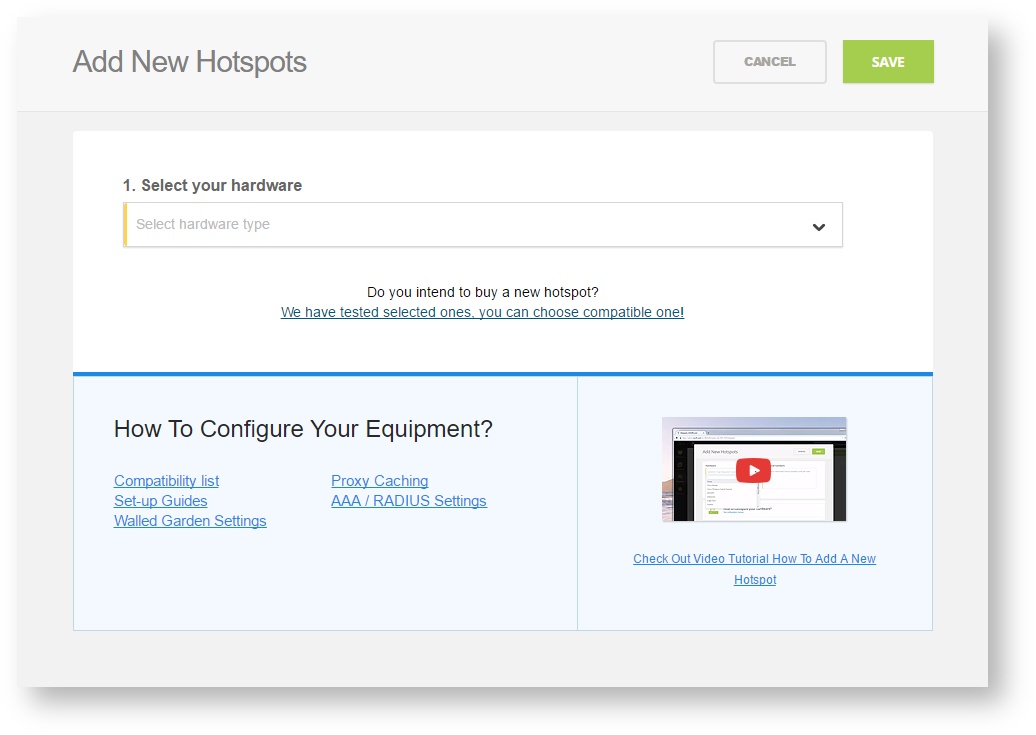
Step 4: Select the Wi-Fi hardware manufacturer from the drop down menu

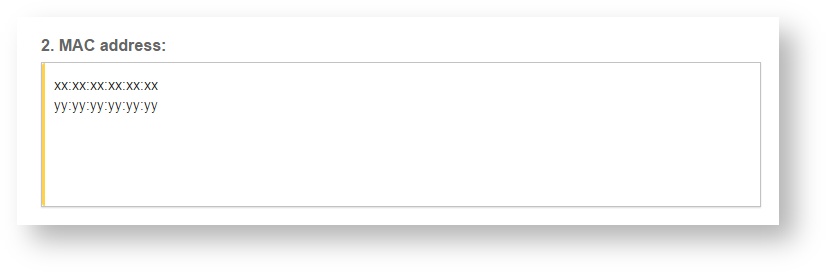
Step 5: Enter the serial number or MAC address (depending on the specific equipment manual) of your equipment. You can add multiple hotspots at once.
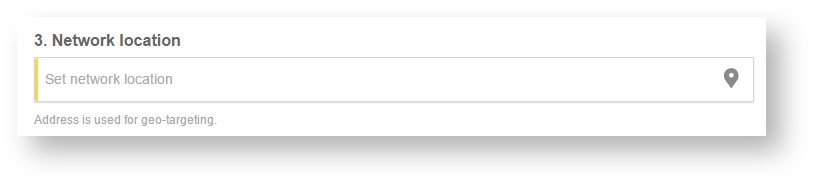
Step 6: Set your Network location (this step is essential for correct ad targeting)
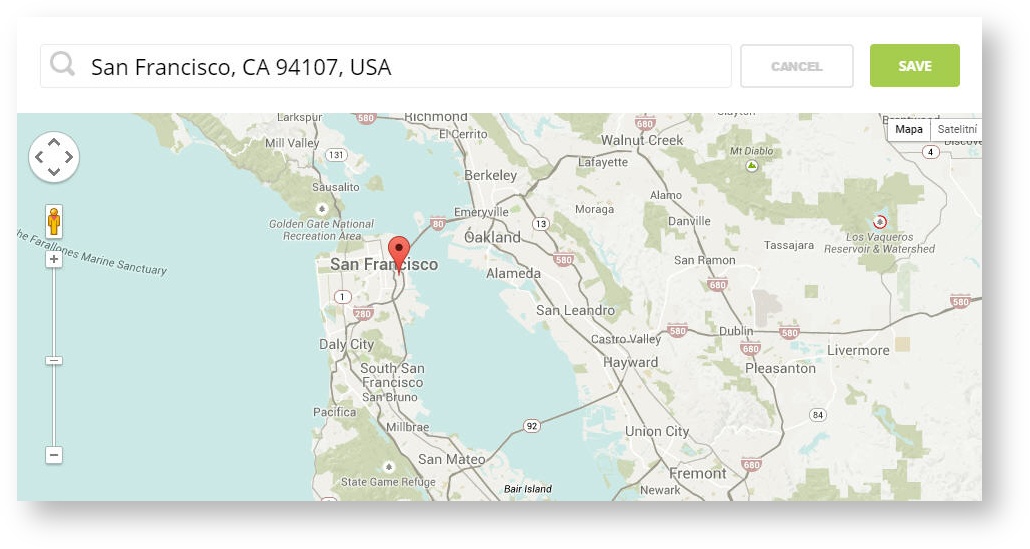
Step 7: In the pop-up window type your location or just move the marker on the map and click on the save button to confirm the selection. This address is used for ad GEO targeting.
Step 7: Click Save

Note: Newly added hotspot are marked as ![]() (Hotspot pending). After the first user connects to the hotspot via SOCIFI, the status will automatically change and appear as
(Hotspot pending). After the first user connects to the hotspot via SOCIFI, the status will automatically change and appear as ![]() (Active) within an hour. Get your first connections to test if it works properly.
(Active) within an hour. Get your first connections to test if it works properly.

Related pages
https://help.cloudtrax.com/hc/en-us/articles/206490603-Firmware-6-0-Change-Log-Public-Beta-