Edge-Core
Tested model: ECWO5320 / 802.11ac Outdoor Dual-Band Wireless Access Point. AP by EdgeCore is dualband (2.5/5 GHz) AP designed for outdoor use with possibility to connect an external antenna. It includes integrated CoovaChilli hotspot, DHCP server and DNS server. It is fully compatible with SOCIFI technologies.
Admin MAC address
MAC address, needed for setting in the SOCIFI Dashboard, is available after sign in to the web portal of device management console. MAC address is available in the tab System Status in the table Wireless Status > BSSID
Unfortunately, since it is a dual-band unit, the MAC address is separate for each band (2.5 and 5 GHz) and you need to enter both in the admin.
HotSpot a WalledGarden Settings
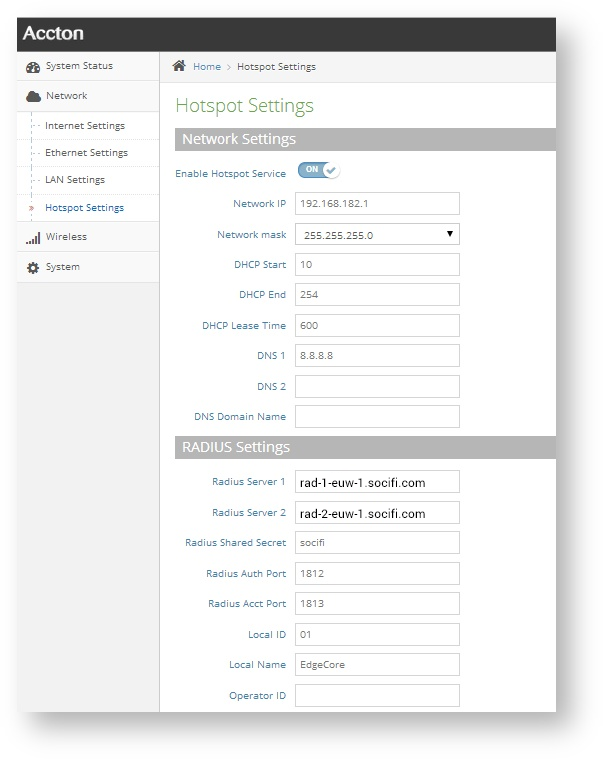
HotSpot Service Settings is placed in menu Network/Hotspot Settings. Fill and set following parameters:
| Network Settings | |
|---|---|
| Enable Hotspot Service | set ON |
| Network IP | set IP serving as a default Subnet gateway, available for users' connection |
| Network mask | select appropriate network mask according to the required size and the number of WiFi clients - default 255.255.255.0 |
| DHCP Start | enter the starting address of the range for DHCP clients |
| DHCP End | enter the last address of the range for DHCP clients |
| DHCP Lease Time | enter the time that will keep DHCP assigned address |
| DNS 1 | enter the primary DNS server e.g. 8.8.8.8 |
| DNS 2 | enter the primary DNS server e.g. 8.8.4.4 |
| DNS Domain Name | enter the domain name of your Subnet network |
| Radius Settings | |
| Radius Server 1 | enter the appropriate primary RADIUS server for the region |
| Radius Server 2 | enter the appropriate secondary RADIUS server for the region |
| Radius Shared Secret | enter socifi |
| Radius Auth Port | enter port 1812 |
| Radius Acct Port | enter port 1813 |
| Local ID | fill device ID in the RADIUS server e.g. 01 |
| Local Name | enter the RADIUS device name e.g. EdgeCore |
| Operator ID | leave empty |
We recommend to use this set of RADIUS servers:
Captive Portal Settings
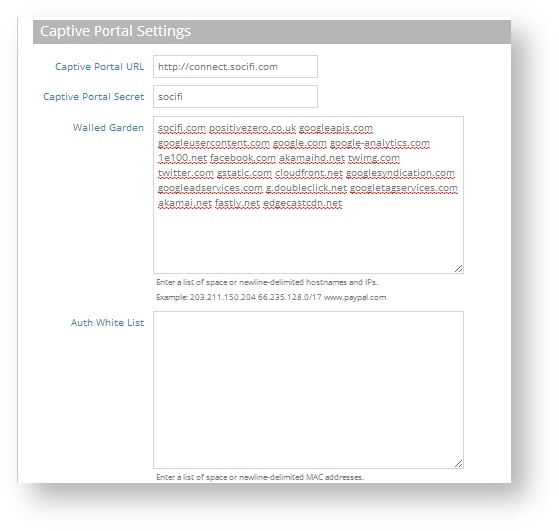
| Captive Portal URL | enter http://connect.socifi.com/ |
| Captive Portal Secret | enter socifi (case sensitive) |
Walled Garden
If you are customer with White Label solution, please add your custom domain (for example mycustomdomain.com) to the Walled Garden list.
socifi.com facebook.com akamaihd.net akamai.net edgecastcdn.net twitter.com twimg.com fastly.net li-cdn.net cloudfront.net fbcdn.net instagram.com cdninstagram.com linkedin.com licdn.com
| Auth White List | here, if necessary, enter IP addresses exceptions, that can access the Internet without passing through the HotSpot |
Wireless Settings
Wireless Service Setting can be found in the menu Wireless for each band separately (2.5 and 5 GHz). An example of setting for 2.5 GHz band (band 5 GHz is very similar, with only minor changes based on the differences between the both bands).
| Physical Radio Settings | |
|---|---|
| Status | turn on |
| Mode | select * Access Point (Auto-WDS)* |
| 802.11 Mode | select 802.11b+g+n |
| Channel bandwith | select 20MHz |
| Channel | select auto |
| Wireless Network Configuration | |
| General Settings | |
| Status | turn on |
| SSID | enter the name of the WiFi network e.g. Socifi@free |
| Client Isolation | leave turned off |
| WMM | leave turned off |
| Security Settings | |
| Method | enter No Security |
| Access Conrol List | leave turned off |
| Network Settings | |
| Network Behavior | select Hotspot Controlled |
| Hotspot Settings | skip |
| Limit Upload | leave turned off |
| Limit Download | leave turned off |
Tested versions:
| Name | Type | Firmware version | OK | Description |
|---|---|---|---|---|
| ECWO5320 | AP-dualband wifi | 0.0.3-r1407 | √ | AP |
Add a new hotspot to SOCIFI Dashboard
Step 1: Login to SOCIFI Dashboard
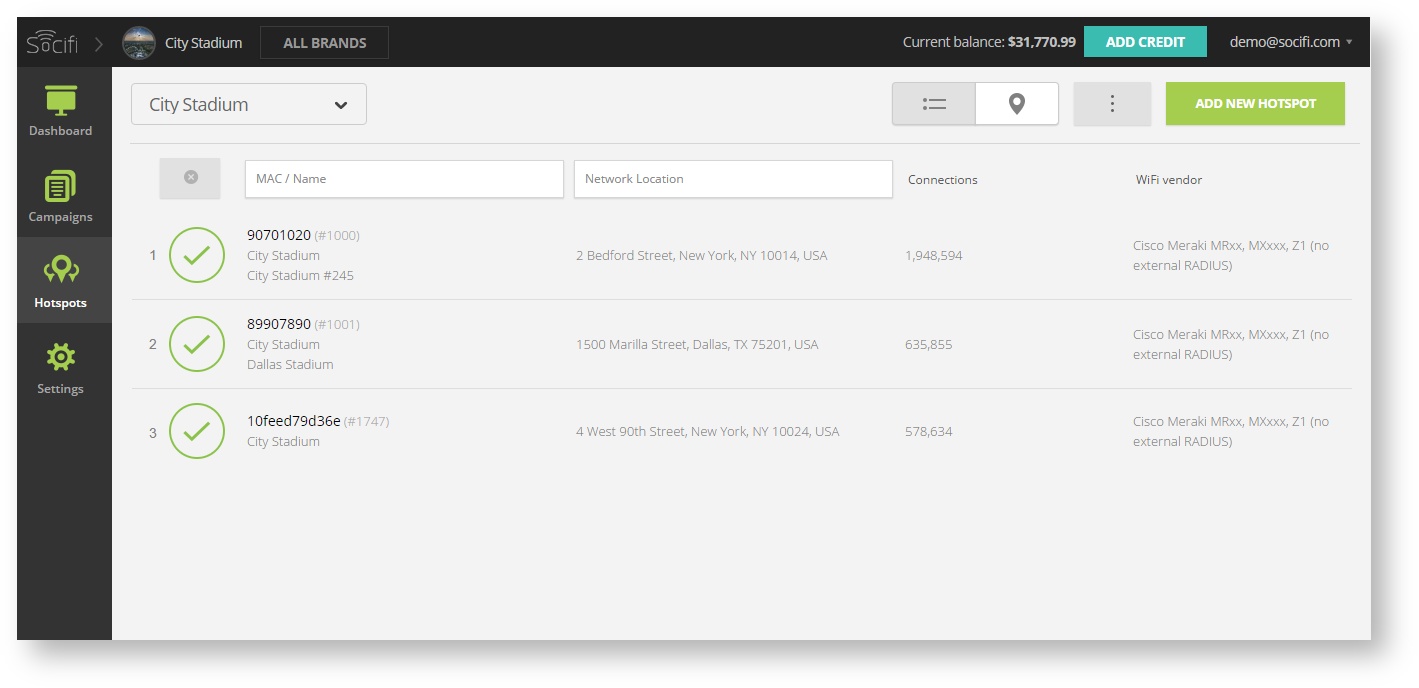
Step 2: Click on the "Hotspots" tab on the left sidebar
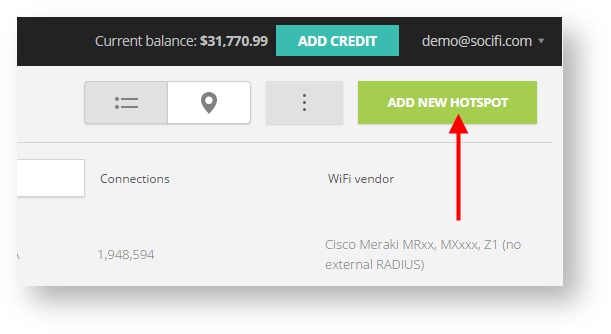
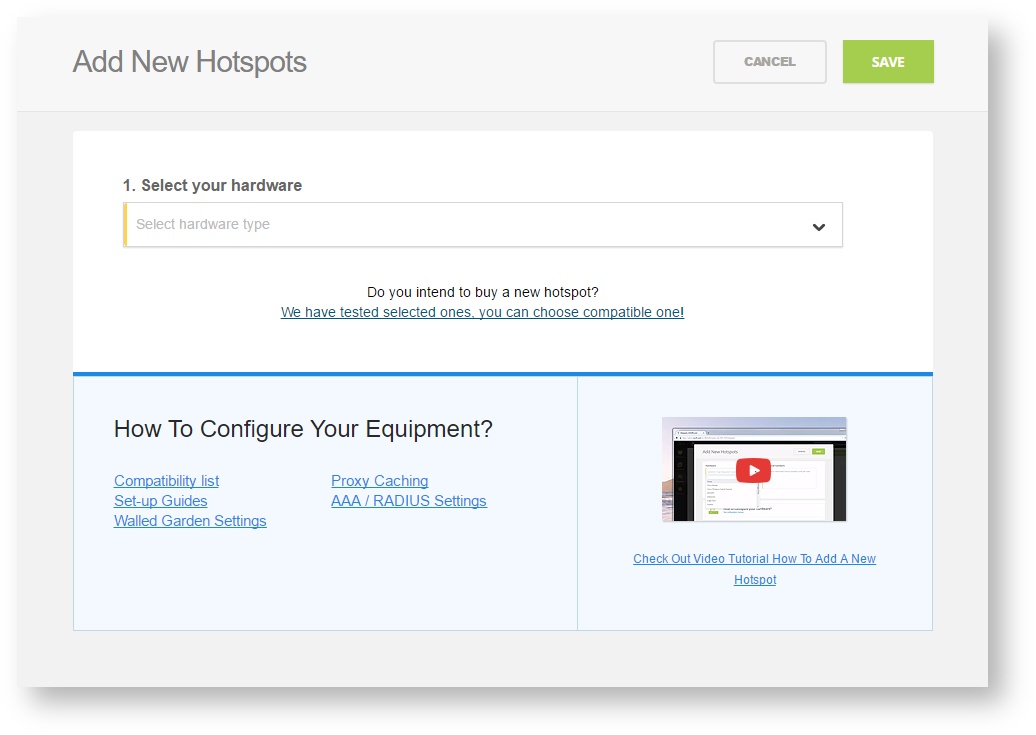
Step 3: Click on the “Add a new hotspot” button located on the top right corner on the screen (pictured below)
Note: A pop-up window will appear (below)
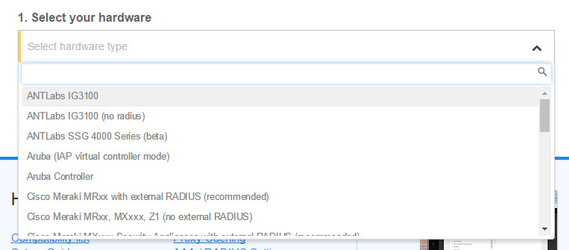
Step 4: Select the Wi-Fi hardware manufacturer from the drop down menu
Step 5: Enter the serial number or MAC address (depending on the specific equipment manual) of your equipment. You can add multiple hotspots at once.
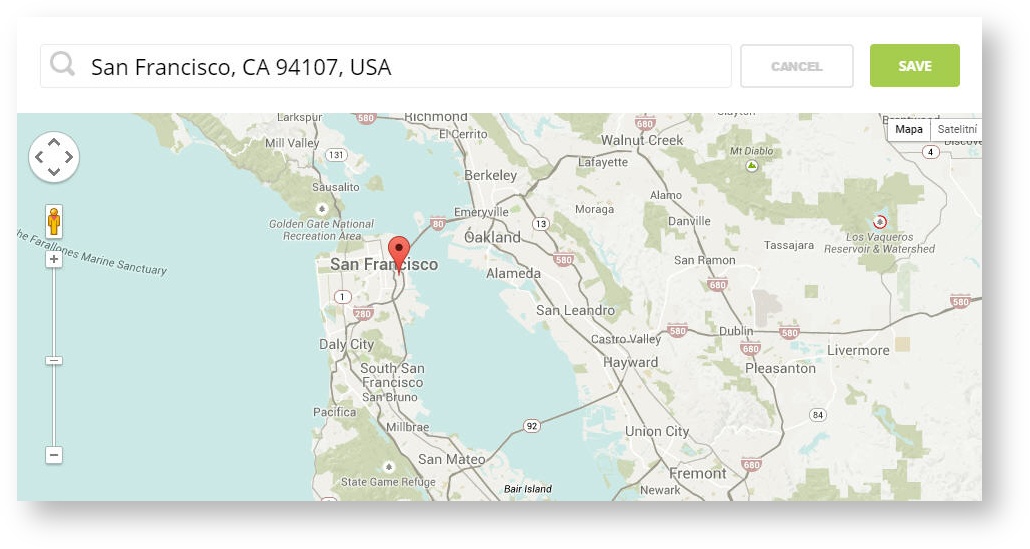
Step 6: Set your Network location (this step is essential for correct ad targeting)
Step 7: In the pop-up window type your location or just move the marker on the map and click on the save button to confirm the selection. This address is used for ad GEO targeting.
Step 7: Click Save
Note: Newly added hotspot are marked as (Hotspot pending). After the first user connects to the hotspot via SOCIFI, the status will automatically change and appear as (Active) within an hour. Get your first connections to test if it works properly.

