LigoWave (Deliberant) APC Button
The APC Button uses integrated Coova-Chilli OS and thus provide seamless integration with the SOCIFI solution.
Tested versions:
| model | APC Button |
|---|---|
| firmware version | 2-3352.v5.95-1.50073 |
1. Network Setting
To get correctly working device we'll need to first set the correct mode (see pic below). Go to Configuration > Network > Network mode = Router and than enable at least one DNS server as displayed in the WAN, wired section.
When done, click on the Save & Apply button to save and activate the setting.
2. The NTP setting
Now we'll need to set the NTP service so the device can use the correct time. Go to Services > Clock/NTP and select the right timezone and fill in the NTP server name
Please pick servers that are as close to your location as possible. Please check the NTP list here: http://www.pool.ntp.org/en
Example:
Primary NTP Server: 0.north-america.pool.ntp.org
Secondary NTP Server: 1.north-america.pool.ntp.org
3. Wireless/Hotspot setting
Go to Configuration > Wireless and set the Access Point (auto WDS) mode. Because we've set the mode Router earlier we can now configure the Security as UAM and then fill in (copy/paste) the values as displayed. Keep the default values for the rest. This will activate Hotspot and External portal.
| Security | UAM |
|---|---|
| NAS ID | deliberant_xx:xx:xx:xx:xx:xx |
| RADIUS server 1 | based on location/region. see the tab RADIUS servers |
| RADIUS server 2 | based on location/region. see the tab RADIUS servers |
| RADIUS secret | socifi |
| RADIUS Auth port | 1812 |
| RADIUS Acct port | 1813 |
| RADIUS WEB page type | external |
| UAM login page | http://connect.socifi.com |
NAS ID: deliberant_xx:xx:xx:xx:xx:xx where the xx:xx:xx:xx:xx:xx is the MAC address. It's the same one as used in chapter 4
We recommend to use this set of RADIUS servers:
The wifi/hotspot network setting has to use different subnet addressing than the Wan, wired (see 1. Network Setting). Go to Configuration > Wireless and set the Interface IP address. (yes, the same window, need to use the scroll bar). The DHCP server settings will accomodate itself. For setting of the Walled Garden services we will use the auto-configuration feature of the APC Button. Simply fill in the SOCIFI URL and other values as listed below:
| W/B list auto update | checked |
|---|---|
| W/B list URL | http://static.socifi.com/public/equipment/deliberant-walled-garden.txt |
| Update mode | Interval |
| Time (hh:mm) | 01:00 |
When done, click on the Save & Apply button to save and activate the setting. To see if the Walled Garden (White/Black list) was set correctly you may use the View button. Similar output as below should appear. (subject of change)
If you are customer with White Label solution, please add your custom domain (for example mycustomdomain.com) to the Walled Garden list.
whitelist socifi.com,facebook.com,akamaihd.net,akamai.net,edgecastcdn.net,twitter.com,twimg.com,fastly.net,li-cdn.net,cloudfront.net,fbcdn.net,instagram.com,cdninstagram.com,linkedin.com,licdn.com
4. Getting data for the Dashboard SOCIFI administration ( admin SOCIFI )
For the Dashboard administration we'll need the MAC address of the APC Button device. We can either go to Status > Network and get the LAN interface address (in the picture below it's: 00:19:3B:96:42:78) or get it from the rear side sticker value Radio MAC or we will see it on a wifi device screen (tablet, ipod .. etc) when there is the first attempt for an user registration. In the Wifi vendor please put: Deliberant
5. Connecting your APC Button to the SOCIFI Dashboard
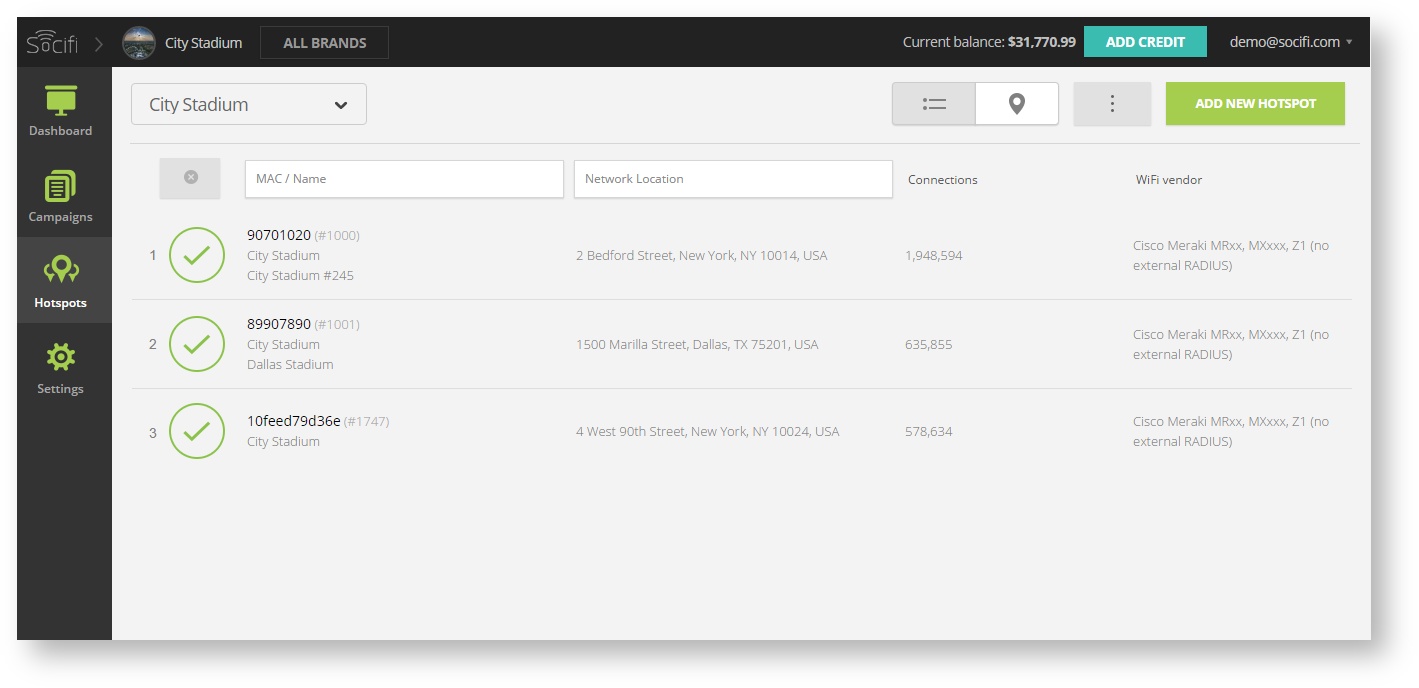
Step 1: Login to SOCIFI Dashboard
Step 2: Click on the "Hotspots" tab on the left sidebar
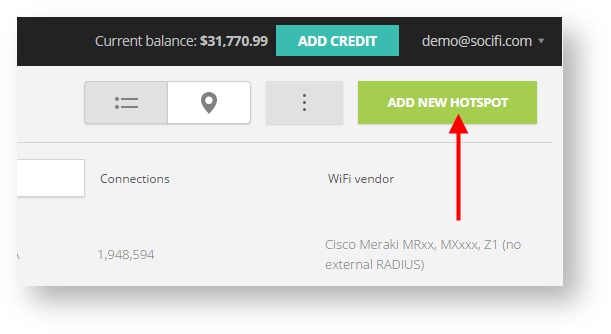
Step 3: Click on the “Add a new hotspot” button located on the top right corner on the screen (pictured below)
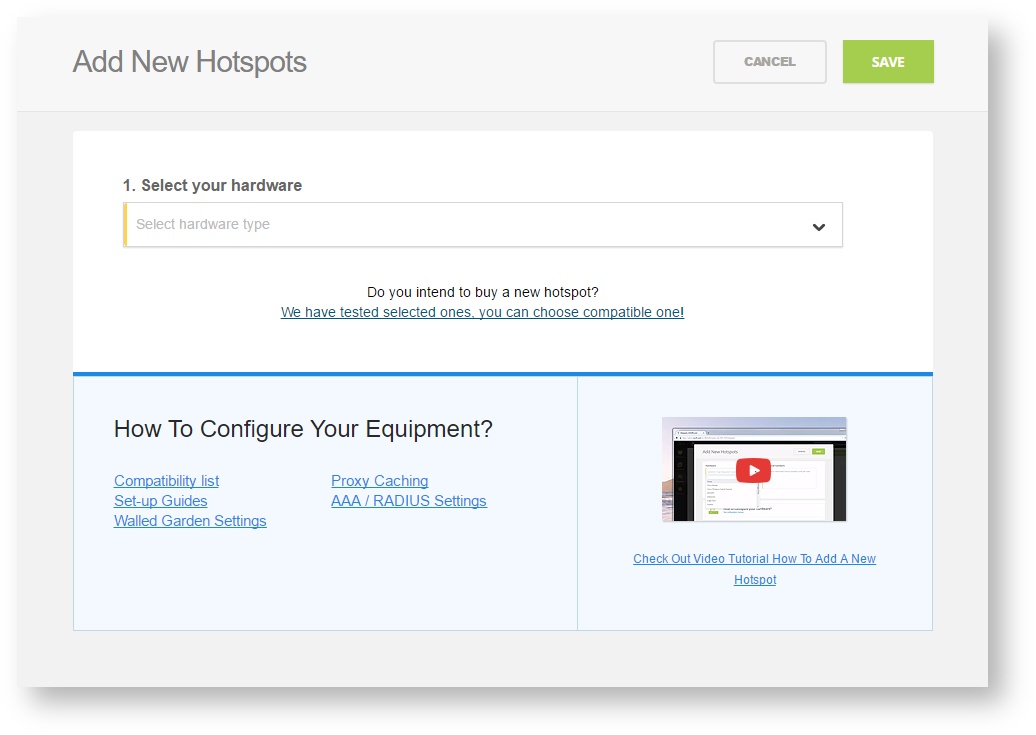
Note: A pop-up window will appear (below)
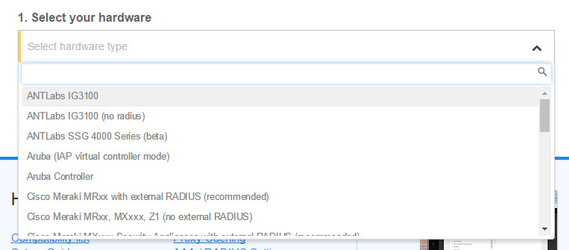
Step 4: Select the Wi-Fi hardware manufacturer from the drop down menu
Step 5: Enter the serial number or MAC address (depending on the specific equipment manual) of your equipment. You can add multiple hotspots at once.
Step 6: Set your Network location (this step is essential for correct ad targeting)
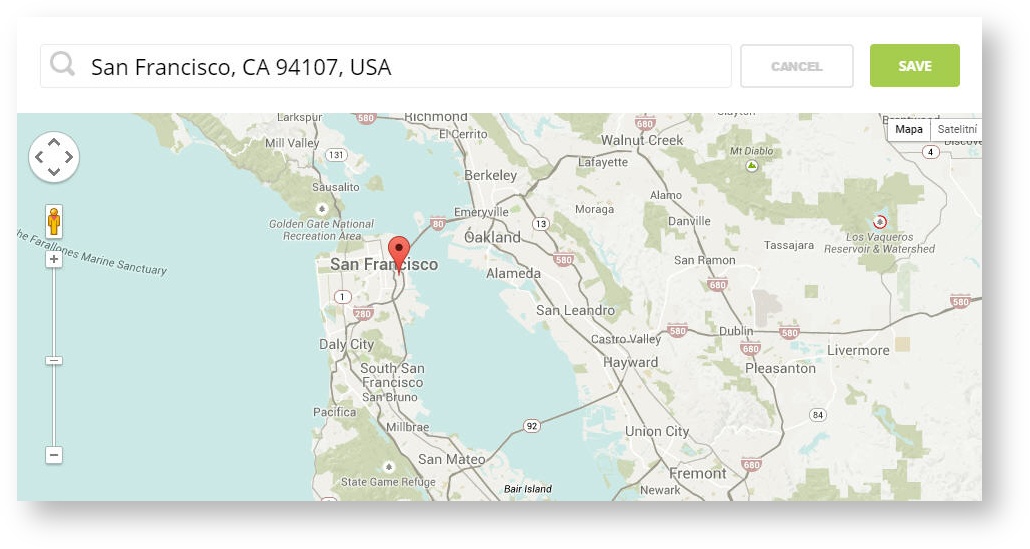
Step 7: In the pop-up window type your location or just move the marker on the map and click on the save button to confirm the selection. This address is used for ad GEO targeting.
Step 7: Click Save
Note: Newly added hotspot are marked as (Hotspot pending). After the first user connects to the hotspot via SOCIFI, the status will automatically change and appear as (Active) within an hour. Get your first connections to test if it works properly.


