LigoWave APC Button - SOCIFI ready


Tested versions:
| Model | Type | Firmware version | Note |
|---|---|---|---|
| APC Button | AP + controller | 2-3352.v5.95-2.52985 | SOCIFI ready |
Intro:
SOCIFI and Ligowave (formerly Deliberant) are glad to present embedded SOCIFI configuration in LigoWave firmware called SOCIFI ready. From now on the SOCIFI configuration gets much easier and also significantly decreases any chance for miss-configuration. You may check the old Guide to see what has changed.
1. Get the right firmware
Go to: https://www.ligowave.com/downloads check APC then 2 GHz then Button and download the firmware: v5.95-2 Hotspot (CLOUD4WI, SOCIFI). Upgrade your APC button.

2. Network Setting
Set the correct mode (see the picture below). Go to Configuration > Network > Network mode = Router and than enable at least one DNS server as displayed in the WAN, wired section. When done, click on the Save & Apply button to save and activate the setting.

3. The NTP setting
Now we'll need to set the NTP service so the device can use the correct time. Go to Services > Clock/NTP and select the right timezone and fill in the NTP server name.
Please pick servers that are as close to your location as possible. Please check the NTP list here: http://www.pool.ntp.org/en
Example:
Primary NTP Server: 0.north-america.pool.ntp.org
Secondary NTP Server: 1.north-america.pool.ntp.org

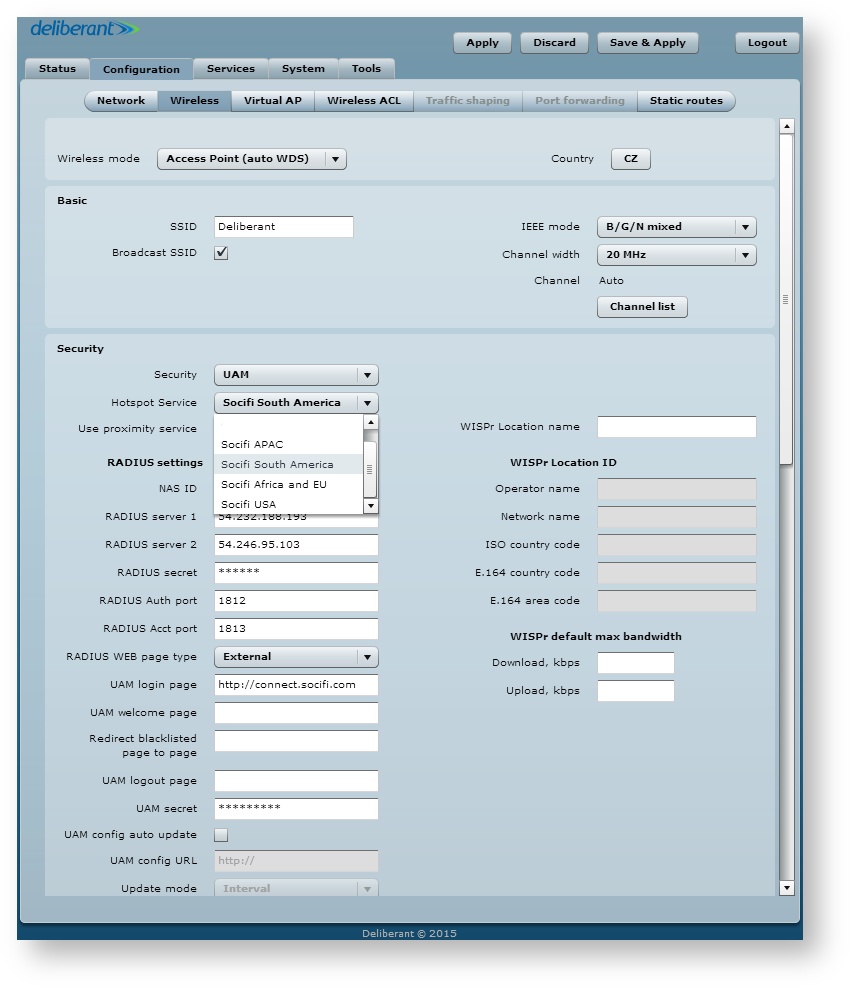
4. Wireless/Hotspot SOCIFI ready setting
Go to Configuration > Wireless and set the Access Point (auto WDS) mode. Then go to Security and select UAM. New option Hotspot Service will appear and you can now select predefined SOCIFI values based on your region.
5. Add a new hotspot to SOCIFI Dashboard
For the Dashboard administration you'll need to know the MAC address of the APC Button device. You can either go to Status > Network and get the LAN interface address there (in the picture below it's: 00:19:3B:96:42:78) or find the value Radio MAC on the rear side sticker or finally you can see it on a Wifi device display (tablet, ipod .. etc) when an user will try to register for the first time. As the Wifi vendor please use: Deliberant.

Step 1: Login to SOCIFI Dashboard
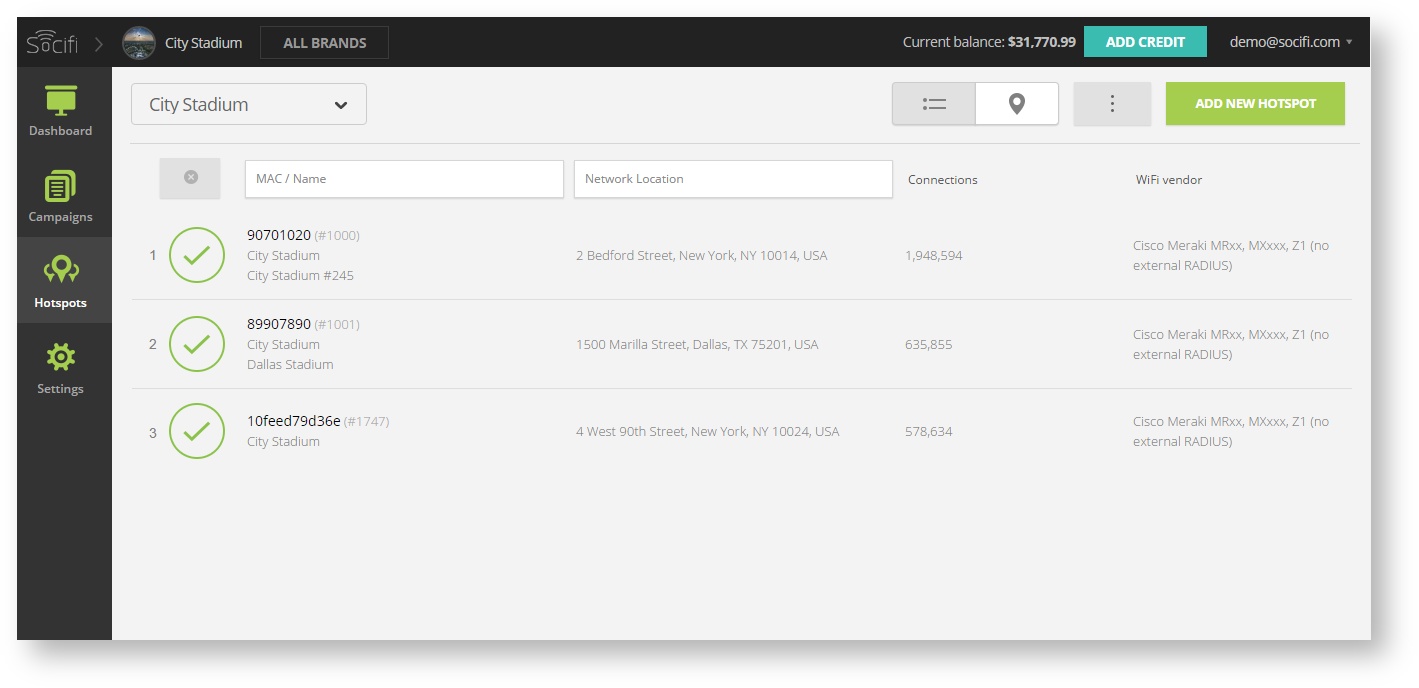
Step 2: Click on the "Hotspots" tab on the left sidebar
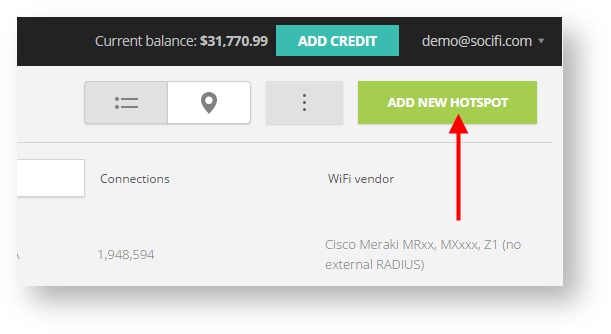
Step 3: Click on the “Add a new hotspot” button located on the top right corner on the screen (pictured below)
Note: A pop-up window will appear (below)
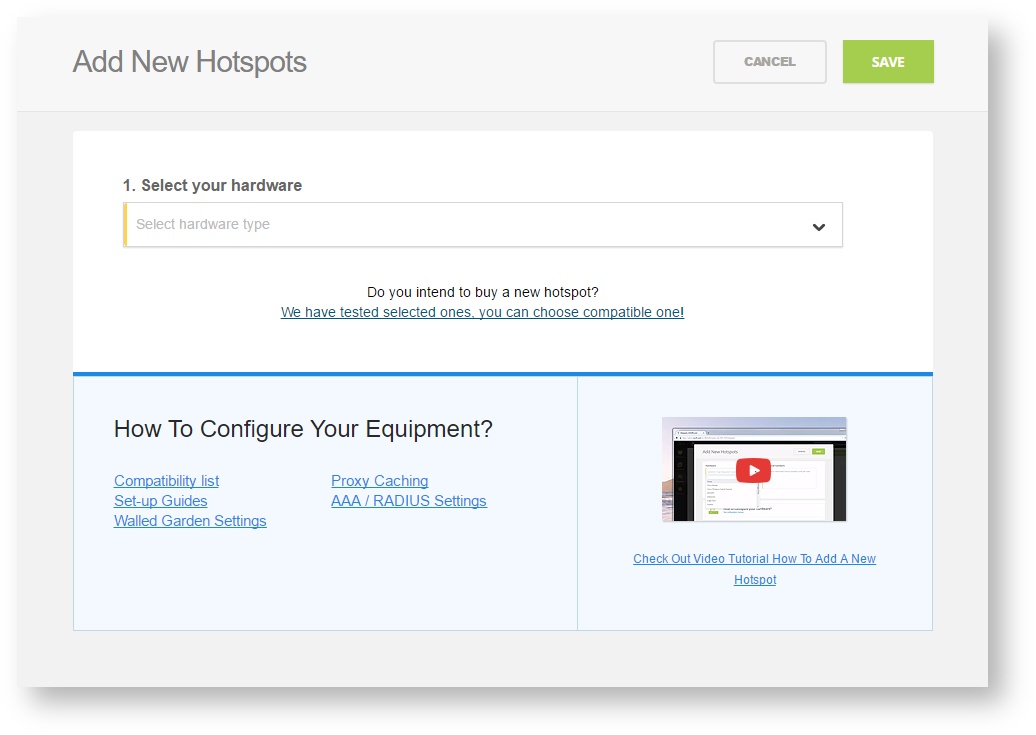
Step 4: Select the Wi-Fi hardware manufacturer from the drop down menu

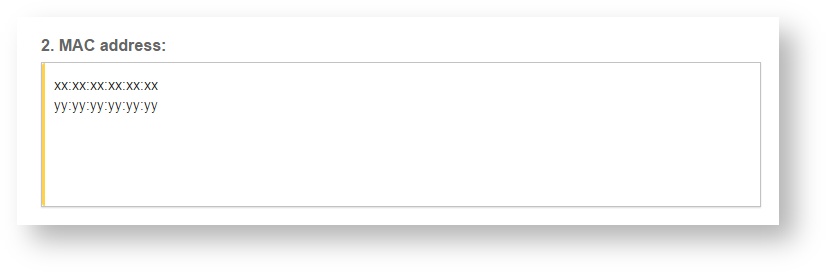
Step 5: Enter the serial number or MAC address (depending on the specific equipment manual) of your equipment. You can add multiple hotspots at once.
Step 6: Set your Network location (this step is essential for correct ad targeting)
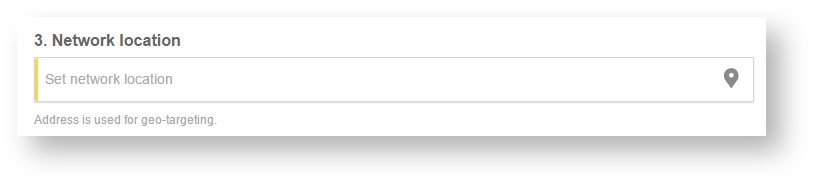
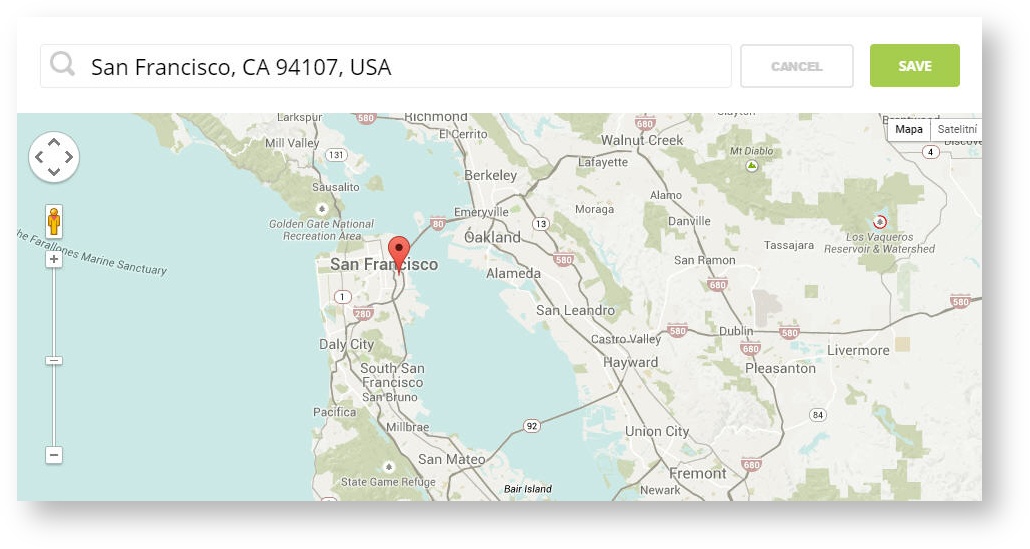
Step 7: In the pop-up window type your location or just move the marker on the map and click on the save button to confirm the selection. This address is used for ad GEO targeting.
Step 7: Click Save

Note: Newly added hotspot are marked as ![]() (Hotspot pending). After the first user connects to the hotspot via SOCIFI, the status will automatically change and appear as
(Hotspot pending). After the first user connects to the hotspot via SOCIFI, the status will automatically change and appear as ![]() (Active) within an hour. Get your first connections to test if it works properly.
(Active) within an hour. Get your first connections to test if it works properly.
