Ruckus ZoneDirector
Functionality and hotspot service setting is different while using ZoneDirector compared to the use of access control in StandAlone mode separate AP. Hotspot is controlled by the controller, but user authentication is tied to a single AP, therefore, in the AP groups defined by the controller it is not possible to roam freely.
Tested versions:
| Model | Type | Firmware version | Description | Limitations |
|---|---|---|---|---|
| ZoneDirector 1100 ZoneFlex 7982 | controller | 9.8.1.0.101 | standalone | no speed control |
Controller setting process
RADIUS (AAA) servers
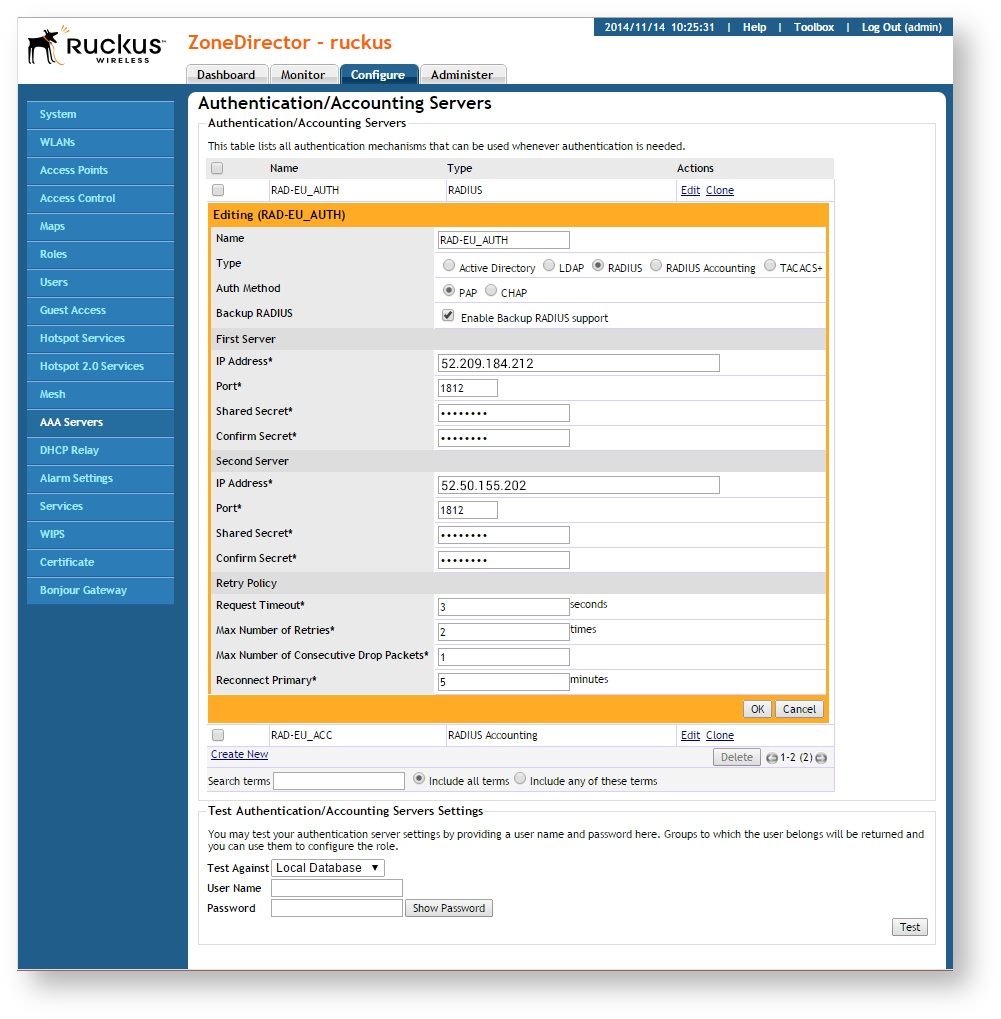
First of all, it is necessary to set the authentication service of radius server. For each of the sites, we need to select the right RADIUS server. Radius servers, both primary and backup, can be set in one step. Especially it is necessary to set the authentication access (auth) and accounting access (ACC). See Configure tab / AAA Servers / Authentication / Accounting Servers. Here we create a new record for the authentication service with the following parameters:
| Name | enter unique name for this authentication method |
|---|---|
| Type | select RADIUS |
| Auth Method | set PAP |
| Backup RADIUS | check Enable Backup RADIUS support |
| First Server | |
| IP Address | enter IP address of primary server due to the location |
| Port | leave default setting 1812 |
| Shared Secret | enter socifi |
| ConfirmSecret | enter socifi |
| SecondServer | |
| IP Address | enter IP address of secondary server |
| Port | leave default setting 1812 |
| Shared Secret | enter socifi |
| ConfirmSecret | enter socifi |
| Retry Policy | |
| Request Timeout | 3 seconds |
| Max Number of Retries | 2 times |
| Max Number of Consecutive Drop Packets | 1 |
| Reconnect Primary | 5 minutes |
We recommend to use this set of RADIUS servers:
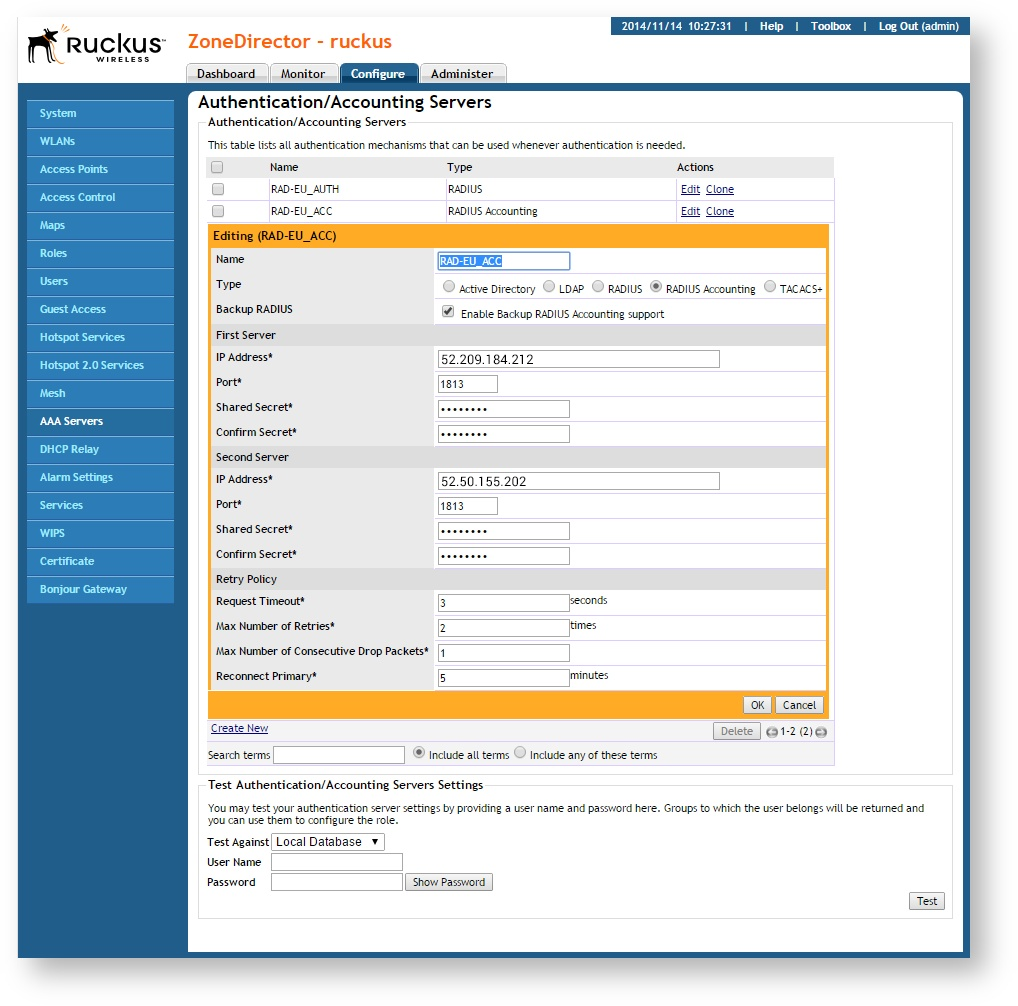
... and new record for Accounting service with following parameters:
| Name | enter unique name for this accounting method |
|---|---|
| Type | select RADIUS Accounting |
| Backup RADIUS | check Enable Backup RADIUS support |
| First Server | |
| IP Address | enter IP address of primary server due to the location |
| Port | leave default setting 1813 |
| Shared Secret | enter socifi |
| ConfirmSecret | enter socifi |
| SecondServer | |
| IP Address | enter IP address of secondary server |
| Port | leave default setting 1813 |
| Shared Secret | enter socifi |
| ConfirmSecret | enter socifi |
| Retry Policy | |
| Request Timeout | 3 seconds |
| Max Number of Retries | 2 times |
| Max Number of Consecutive Drop Packets | 1 |
| Reconnect Primary | 5 minutes |
Hotspot
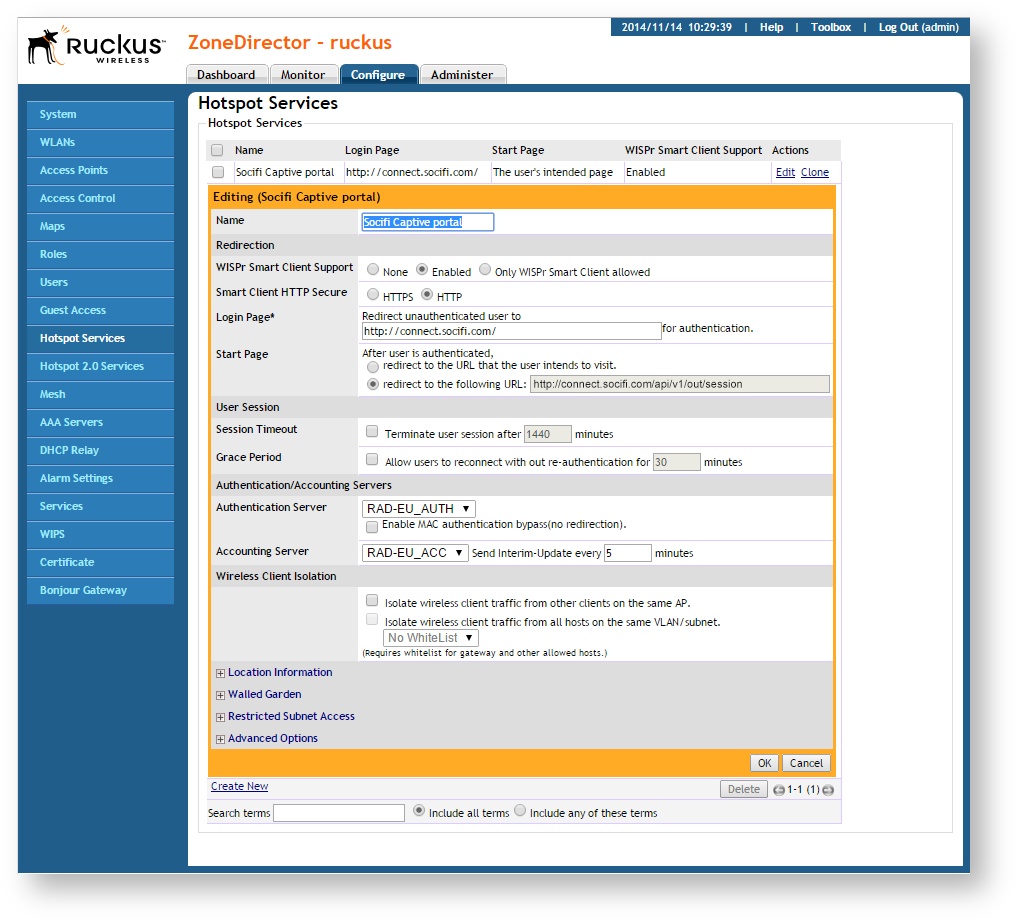
Hotspot service settings are set in the tab Configure / Hotspot Services / Hotspot Services. Here we create a new record and enter following parameters:
| Name | call it e.g. Socifi Captive portal |
|---|---|
| Redirection | |
| WISPr Smart Client Support | select Enabled |
| Smart Client HTTP Secure | select HTTP |
| Login Page | enter http://connect.socifi.com/ (remember to use end symbol "/") |
| Start Page | set redirect to the following URL and enter http://connect.socifi.com/api/v1/out/session |
| User Session | |
| Session Timeout | leave unchecked |
| Grace Period | leave unchecked |
| Authentication/Accounting Servers | |
| Authentication Server | select our entered AUTH server, selection Enable MAC authentication bypass (no redirection) leave turned off due to your needs |
| Accounting Server | select our entered ACC server and selection Send Interim-Update every enter 5 minutes |
| Wireless Client Isolation | both selection leave turned off due to your needs |
Walled Garden
In Walled Garden setting, which is located in the hotspot settings, need to be entered all necessary domains individually and in the format as *.domain.net.
Enter following Walled garden ranges:
If you are a customer with the White Label solution, please add your custom domain (for example *.mycustomdomain.com) to the Walled Garden list.
*.socifi.com
*.facebook.com
*.akamaihd.net
*.akamai.net
*.edgecastcdn.net
twitter.com
*.twitter.com
*.twimg.com
*.fastly.net
*.li-cdn.net
*.cloudfront.net
facebook.com
*.fbcdn.net
*.instagram.com
*.cdninstagram.com
instagram.com
*.linkedin.com
*.licdn.com
linkedin.com
facebook.com and twitter.com (Yes, twice. Once with and once without the asterisk)
Pages related to Walled Garden issues
Note: the picture below is just an example of the Walled Garden form, doesn't need to necessarily reflect the current DNS list (shown above)

Due to Ruckus firmware behavior end-user devices might not be able to reach some (mainly CDN and cloud) domains from walled garden list. This can cause wrong rendering of the captive portal.
The new IP ranges (indented in the list below) were added on April 2018.
(direct link to IPs list in JSON format: https://ip-ranges.amazonaws.com/ip-ranges.json)
As a workaround you have to add static IP's shown bellow to adjust firmware behavior and to be able to start monetizing your network immediately.
Work-around solution is to add the following IP ranges to the Walled Garden List:
13.32.0.0/15
13.35.0.0/16
13.54.63.128/26
13.59.250.0/26
34.195.252.0/24
35.162.63.192/26
52.15.127.128/26
52.46.0.0/18
52.52.191.128/26
52.57.254.0/24
52.66.194.128/26
52.78.247.128/26
52.84.0.0/15
52.199.127.192/26
52.212.248.0/26
52.220.191.0/26
52.222.128.0/17
54.182.0.0/16
54.192.0.0/16
54.230.0.0/16
54.233.255.128/26
54.239.128.0/18
54.239.192.0/19
54.240.128.0/18
70.132.0.0/18
71.152.0.0/17
99.84.0.0/16
143.204.0.0/16
204.246.164.0/22
204.246.168.0/22
204.246.174.0/23
204.246.176.0/20
205.251.192.0/19
205.251.249.0/24
205.251.250.0/23
205.251.252.0/23
205.251.254.0/24
216.137.32.0/19
WLan
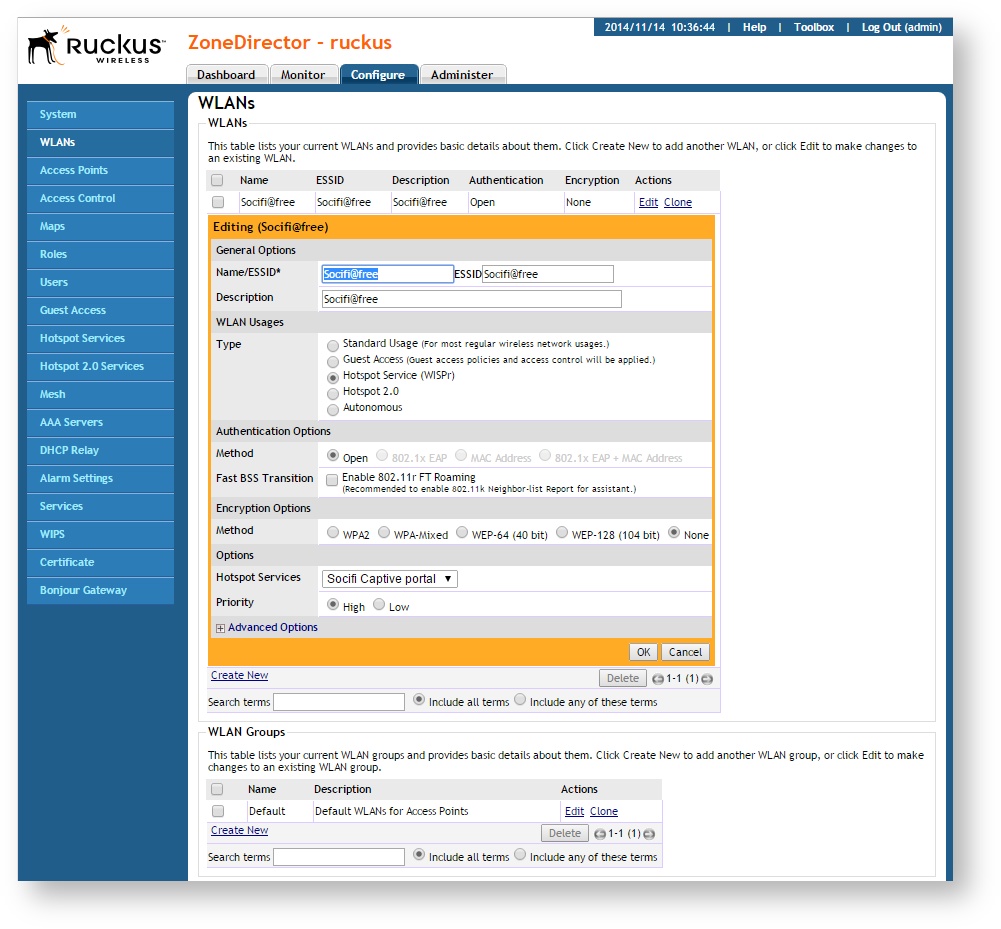
In WLan setting, located in tab Configure / WLANs / WLans, select chosen record and make the following adjustment of parameters:
| Name | enter appropriate record name |
|---|---|
| ESSID | enter ESSID, under which the network will be presented |
| Description | network description |
| WLAN Usages | |
| Type | select Hotspot Service (WISPr) |
| Authentication Options | |
| Method | leave default Open |
| Fast BSS transition | due to your needs leave unchecked |
| Encryption Options | |
| Method | select None |
| Options | |
| Hotspot Services | choose defined name of the service (see above) |
| Priority | High |
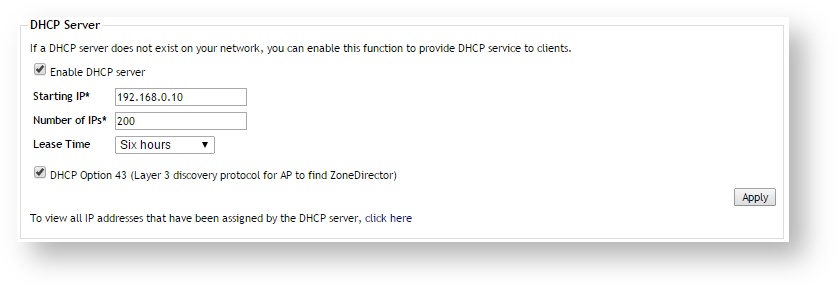
DHCP services
For the purposes of the Hotspot service, it is necessary to permit the allocation of IP addresses to clients using the DHCP server. This option can be found in the tab Configure / System / DHCP Server. Make the following adjustments:
| DHCP Server | |
|---|---|
| allow service of Enable DHCP server | |
| Starting IP | select due to your needs the lowest of the free addresses |
| Number of IPs | enter required number of addresses that must remain unallocated |
| Lease Time | select the lowest possible value. In our case Six hours |
| allow DHCP Option 43 | |
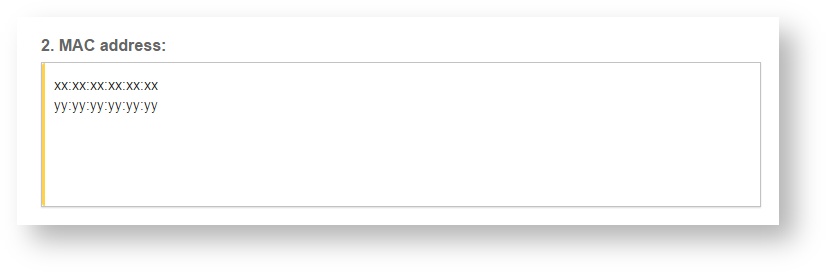
MAC addresses
We will need to add an MAC address later on. Please use the MAC of AP rather than the MAC of ZoneDirector. Use the ZoneDirector MAC address only if the AP MAC is not working.
Add new devices to SOCIFI Dashboard
Step 1: Login to SOCIFI Dashboard
Step 2: Click on the "Hotspots" tab on the left sidebar
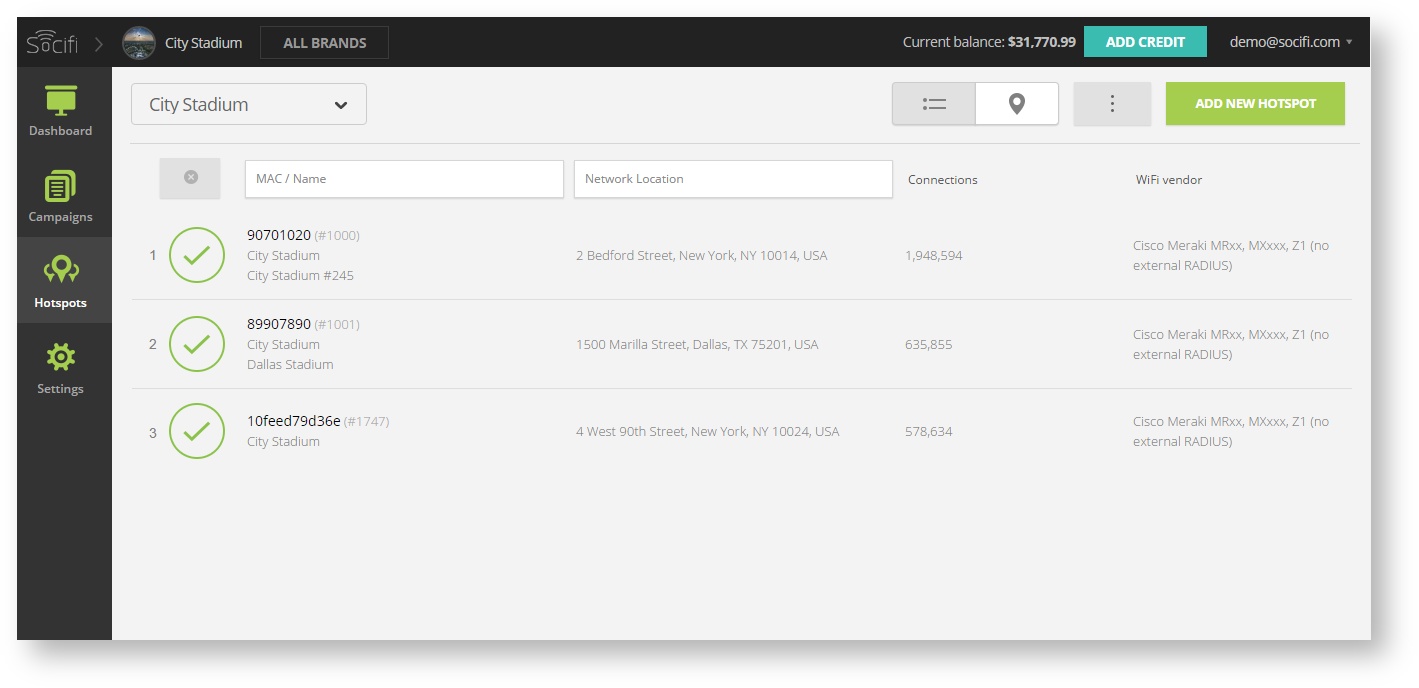
Step 3: Click on the “Add a new hotspot” button located on the top right corner on the screen (pictured below)
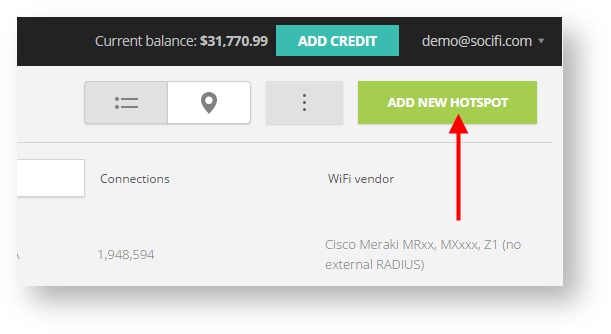
Note: A pop-up window will appear (below)
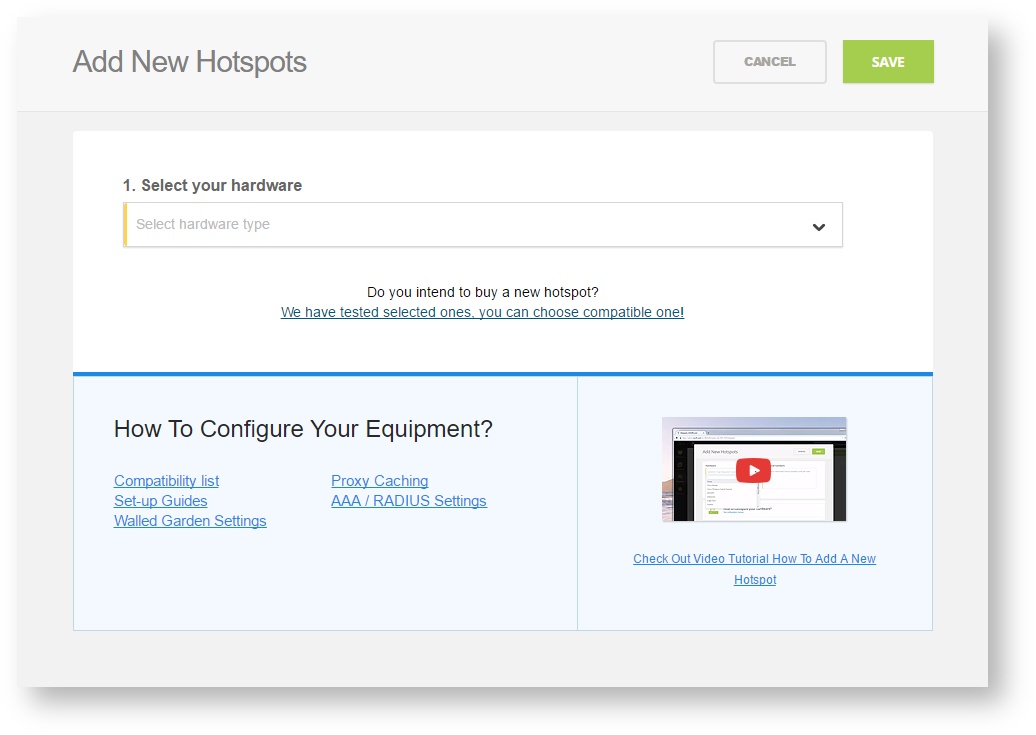
Step 4: Select the Wi-Fi hardware manufacturer from the drop down menu

Step 5: Enter the serial number or MAC address (depending on the specific equipment manual) of your equipment. You can add multiple hotspots at once.
Step 6: Set your Network location (this step is essential for correct ad targeting)
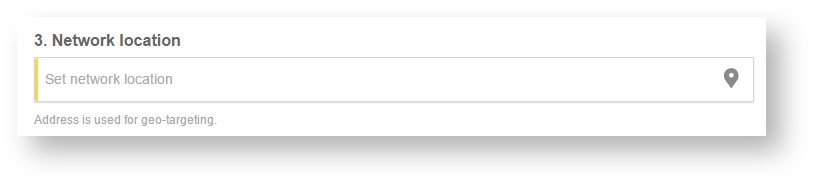
Step 7: In the pop-up window type your location or just move the marker on the map and click on the save button to confirm the selection. This address is used for ad GEO targeting.
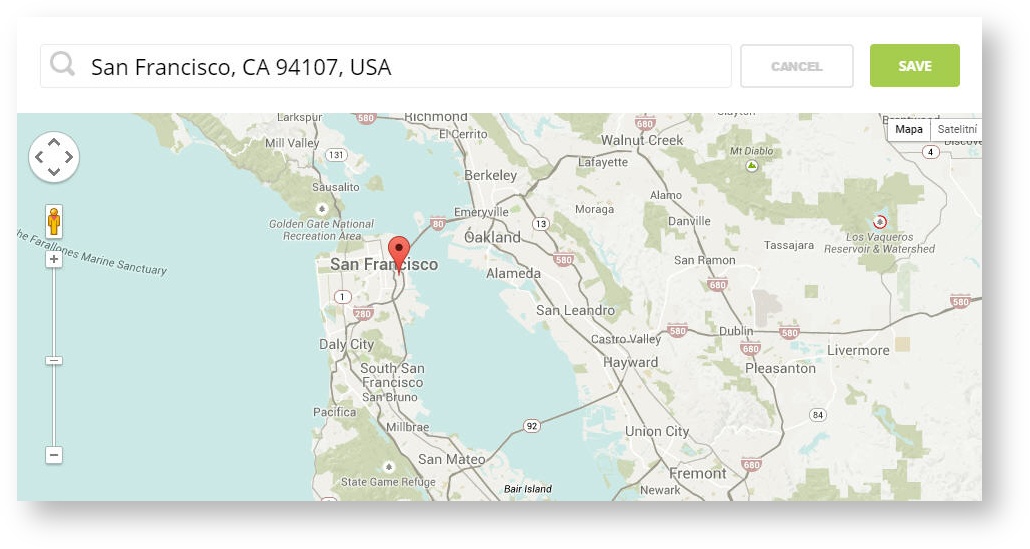
Step 7: Click Save

Note: Newly added hotspot are marked as ![]() (Hotspot pending). After the first user connects to the hotspot via SOCIFI, the status will automatically change and appear as
(Hotspot pending). After the first user connects to the hotspot via SOCIFI, the status will automatically change and appear as ![]() (Active) within an hour. Get your first connections to test if it works properly.
(Active) within an hour. Get your first connections to test if it works properly.
