Billion M500 4G LTE

The compatibility of the Billion M500 device with the SOCIFI platform was tested on the firmware version 1.04.1.173. This manual shows just the features required for the hotspot with the external captive portal functionality. The manual presumes a preconfigured device with active WLAN and WAN. The internal DHCP server and the external DNS server were used for the testing environment.
Hotspot settings
Go to Configuration / Hotspot / General Setting
General
Hotspot | Activated |
|---|---|
Interface | WLAN1 and any other wifi interface with SOCIFI settings |
IP Address | hotspot IP address and DHCP pool start |
IP Subnet Mask | hotspot IP mask and DHCP pool range |
| Primary DNS | default: OpenDNS (208.67.222.222) or enter IP according to your infrastructure |
| Secondary DNS | default: OpenDNS (208.67.222.220) or enter IP according to your infrastructure |
Login Mode | Authentication |
Redirection On Successful Authentication To | <empty> |
Authentication
| Authentication Method | RADIUS |
|---|---|
Primary RADIUS Server | choose from the RADIUS selector tool below |
Secondary RADIUS Server | choose from the RADIUS selector tool below |
Shared Secret Key | socifi |
We recommend to use this set of RADIUS servers:
Session settings
Session Timeout | 0 (0=disabled ... it is set from SOCIFI Dashboard automaticly) |
|---|---|
Idle Timeout | 180 (for example) |
Upload Bandwidth | 0 (0=disabled ... it is set from SOCIFI Dashboard automaticly) |
Download Bandwidth | 0 (0=disabled ... it is set from SOCIFI Dashboard automaticly) |
Captive portal
UAM Server | External |
|---|---|
Login URL | http://connect.socifi.com |
Shared Secret | <empty> |
NAS ID | BILL_<mac_of_wifi> (the same mac address as mac address in SOCIFI dashboard - without separator - see bellow) |
Location Name | <empty> |

WalledGarden
Set allowed destinations for not authenticated users in "Configuration / Hotspot / Walled Garden". Add single domain names listed in the table below to the rules. Select Rule Index, set Active=Yes, Allow Type = DOMAIN and add the domain name from the table. The initial dot is compulsory. The number of rules is limited to 48. The rules 15 and 16 shown in the screenshot below are IP addresses of the DNS1 and DNS2 (8.8.8.8 and 8.8.4.4) assigned to client devices.
If you are customer with White Label solution, please add your custom domain (for example mycustomdomain.com) to the Walled Garden list.
.socifi.com
.facebook.com
.akamaihd.net
.akamai.net
.edgecastcdn.net
.twitter.com
.twimg.com
.fastly.net
.li-cdn.net
.cloudfront.net
.fbcdn.net
.instagram.com
.cdninstagram.com
.linkedin.com
.licdn.com

Add a new hotspot to SOCIFI Dashboard
You'll need to use the MAC address (Status / Device Information / MAC Address) when adding new Hotspot in the Dashboard. Note it (copy) down:

Step 1: Login to SOCIFI Dashboard
Step 2: Click on the "Hotspots" tab on the left sidebar
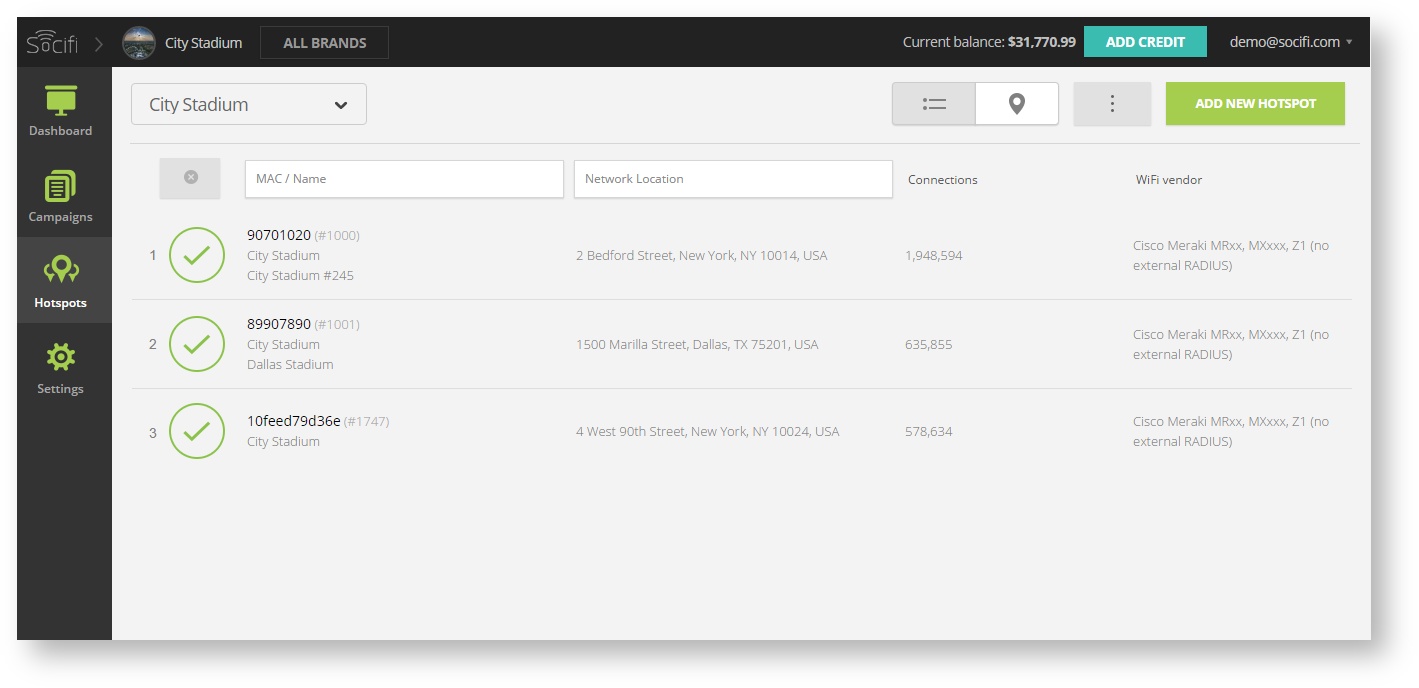
Step 3: Click on the “Add a new hotspot” button located on the top right corner on the screen (pictured below)
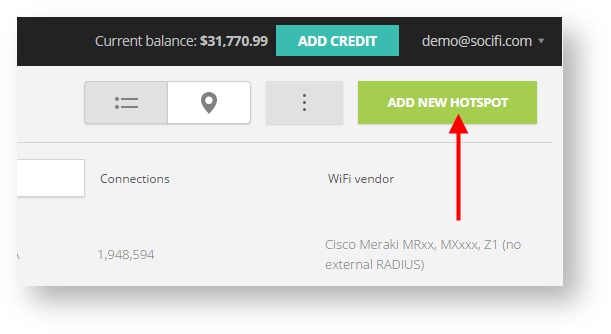
Note: A pop-up window will appear (below)
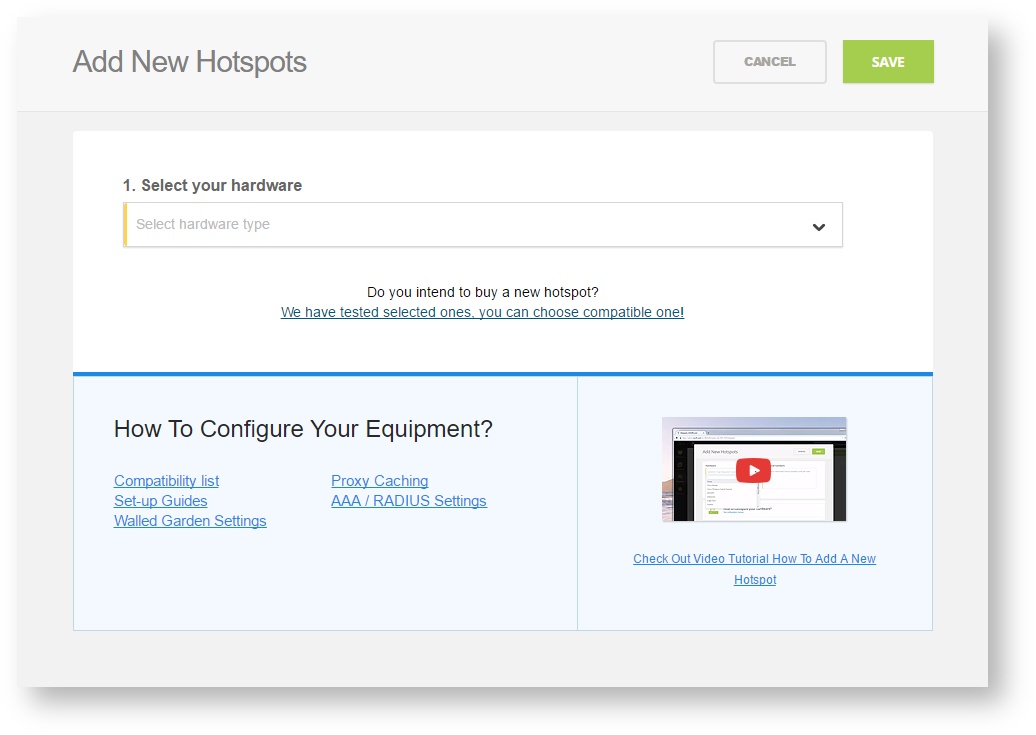
Step 4: Select the Wi-Fi hardware manufacturer from the drop down menu

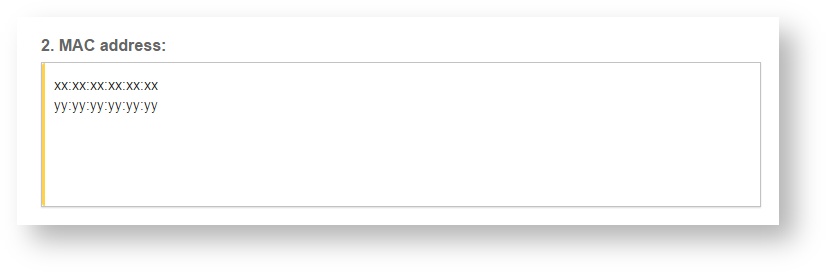
Step 5: Enter the serial number or MAC address (depending on the specific equipment manual) of your equipment. You can add multiple hotspots at once.
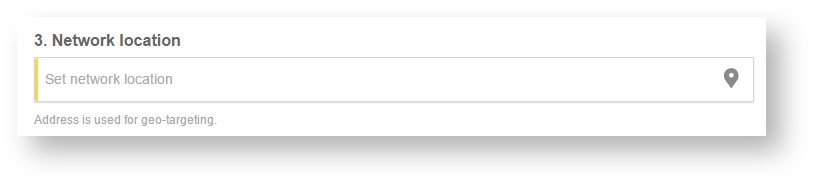
Step 6: Set your Network location (this step is essential for correct ad targeting)
Step 7: In the pop-up window type your location or just move the marker on the map and click on the save button to confirm the selection. This address is used for ad GEO targeting.
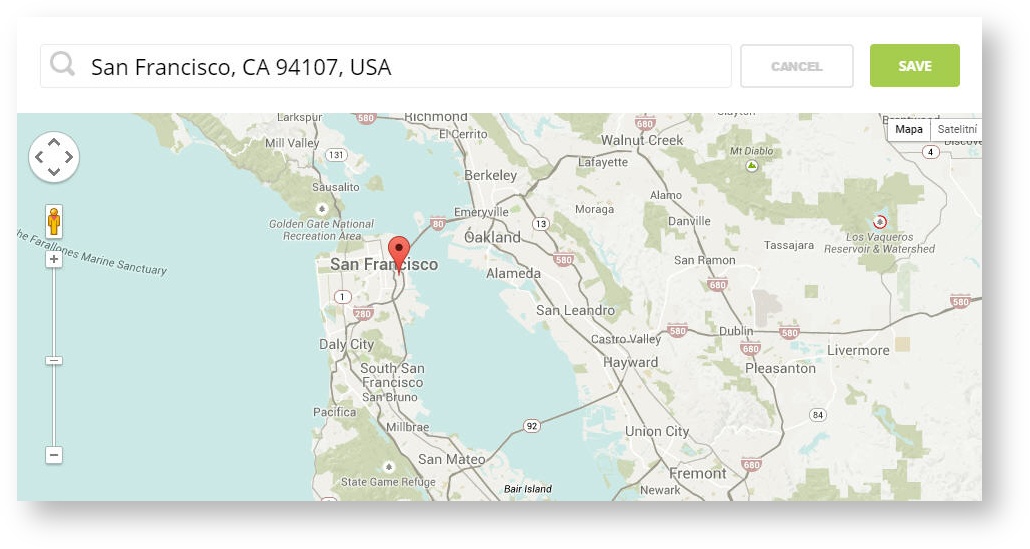
Step 7: Click Save

Note: Newly added hotspot are marked as ![]() (Hotspot pending). After the first user connects to the hotspot via SOCIFI, the status will automatically change and appear as
(Hotspot pending). After the first user connects to the hotspot via SOCIFI, the status will automatically change and appear as ![]() (Active) within an hour. Get your first connections to test if it works properly.
(Active) within an hour. Get your first connections to test if it works properly.
