IgniteNet
| Tested Access Point: | IgniteNet SunSpot AC 1200 |
| Tested Firmware: | 1.1.4-14215 |
| Tested Settings: | IgniteNet SunSpot AC 1200 was tested in a stand-alone mode and using the Cloud Management The cloud configuration can be done following this manual for standalone. The Easy Integration Add-on is available on the Ignitenet Cloud Controller. |
Using the Cloud Add-on (preferred)
- Login to the Ignitenet Cloud Controller https://cloud.ignitenet.com .
- Click on "Add-ons".
- Select the SOCIFI Add-on and click on "Activate".

- Confirm the activation.
- You can manage Add-on settings by clicking on the gear in the right-top corner of the activated Add-on.

- Select the nearest RADIUS set to optimize the performance of your hotspot.

Using the Web Interface or the Ignitenet Cloud Controller
Hotspot and RADIUS Servers Setup
We recommend to use this set of RADIUS servers:
Set up of hotspots, RADIUS servers and captive portal all together in menu NETWORK / Hotspot Settings. Check Enable Hotspot Service ON, configure NETWORK SETTINGS section and RADIUS SETTINGS section as follows.
| NETWORK SETTINGS | |
|---|---|
| Eanble Hotspot Service | On |
| Network IP | <Your Hotspot IP Address> |
| Network mask | <Network Mask> |
| DHCP Start | The first IP Address assigned by the DHCP Server |
| DHCP End | The last IP Address assigned by the DHCP Server |
| DHCP Lease Time | Lease Time of IP Address in seconds |
| DNS 1 | IP Address of the Primary DNS Server |
| DNS 2 | IP Address of the Secondary DNS Server |
| DNS Domain Name | You can leave empty or enter any desired name |
| RADIUS SETTINGS | |
| Radius Server 1 | <Primary Radius Server in according to the specification above> (obligatory entry) |
| Radius Server 2 | <Secondary Radius Server in according to the specification above> (obligatory entry) |
| Radius Shared Secret | socifi (obligatory entry) |
| Radius Auth Port | 1812 (obligatory entry) |
| Radius Acct Port | 1813 (obligatory entry) |
| Enable RadSec | Off (obligatory entry) |
| Radius Auth Method | CHAP (obligatory entry) |
| Local ID | |
| Local Name | |
| NAS ID | IN_xx-xx-xx-xx-xx-xx where the xx-xx-xx-xx-xx-xx is the MAC address. It's the same one as used in chapter below. |

Captive Portal and Walled Garden Setup
If you are customer with White Label solution, please add your custom domain (for example mycustomdomain.com) to the Walled Garden list.
socifi.com facebook.com akamaihd.net akamai.net edgecastcdn.net twitter.com twimg.com fastly.net li-cdn.net cloudfront.net fbcdn.net instagram.com cdninstagram.com linkedin.com licdn.com
| CAPTIVE PORTAL SETTINGS | |
|---|---|
| Captive Portal URL | http://connect.socifi.com |
| Walled Garden | <see above> |

Wi-Fi Setup
Set up a Hotspot function with SOCIFI service in WIRELESS / Wireless Settings section. Set up Wi-Fi for each AP radio (Radio #0 5 GHz and Radio #1 2.4 GHz). Settings is set according to the standard and your needs.

The Hotspot function with SOCIFI service is added in sub-settings WIRELESS NETWORKS at each Wi-Fi radios. In NETWORK SETTINGS part set Network Behavior to entry Hotspot Controlled. An option Limit Upload / Download leave unchecked, it is automatically set from SOCIFI Dashboard Settings. The option Limit Upload is not set automatically from SOCIFI Dashboard Settings for device with firmware version 1.1.3.

Configure Time Settings
The length of each session is ruled by the time and date stamp, therefore you need to check Network Time (NTP) synchronization in SYSTEM / Services. Timezone needs to be set as your location timezone and timeserver set according to the information below.
Please set servers that are as close to your location as possible. You can find NTP list here: http://www.pool.ntp.org/en/

Add device at SOCIFI Dashboard
MAC address, which must be entered into the SOCIFI Dashboard / Hotspot settings, can be found as BSSID entry in menu DASHBOARD / WIRELESS STATUS. During testing the device, this MAC address was set in SOCIFI Dashboard / Hotspot settings according to BSSID entry at Wireless Radio #1 (2.4 GHz) interface and identification at SOCIFI system of both Radios was equal to entry at Wireless Radio #1 (2.4 GHz).

As equipment under the Hardware setting select the IgniteNet.
Step 1: Login to SOCIFI Dashboard
Step 2: Click on the "Hotspots" tab on the left sidebar
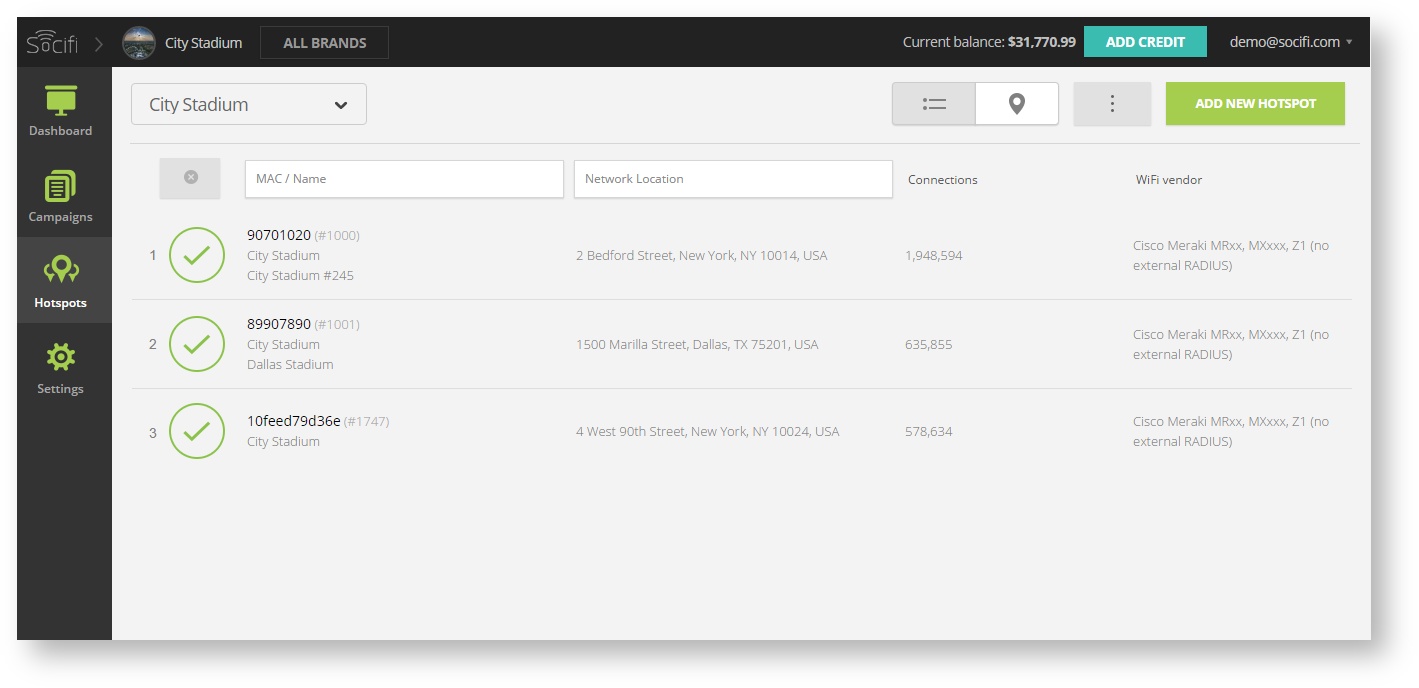
Step 3: Click on the “Add a new hotspot” button located on the top right corner on the screen (pictured below)
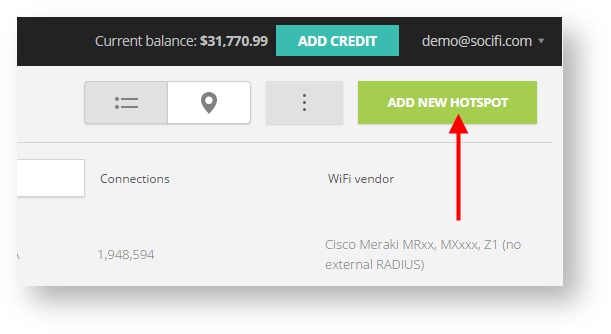
Note: A pop-up window will appear (below)
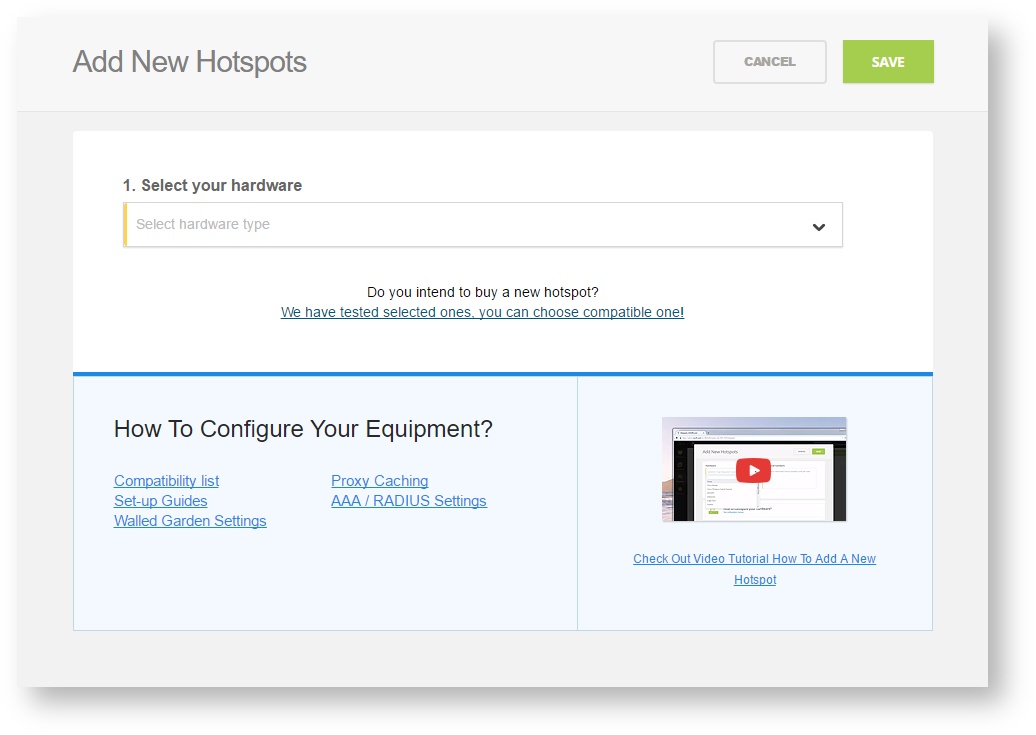
Step 4: Select the Wi-Fi hardware manufacturer from the drop down menu

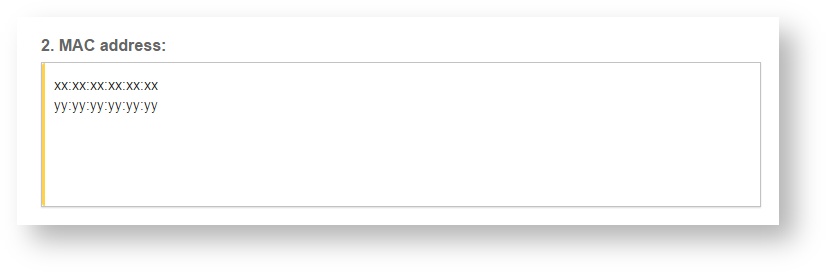
Step 5: Enter the serial number or MAC address (depending on the specific equipment manual) of your equipment. You can add multiple hotspots at once.
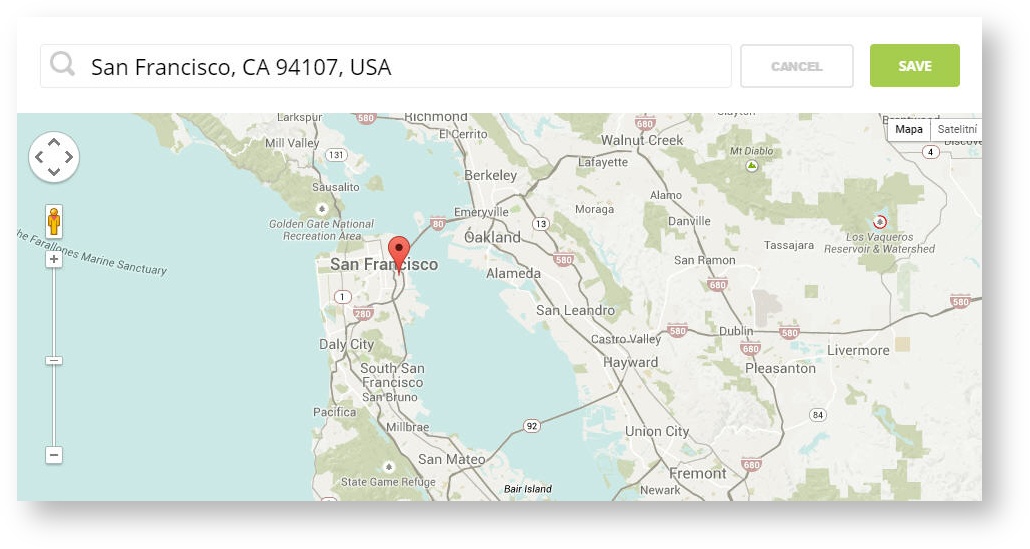
Step 6: Set your Network location (this step is essential for correct ad targeting)
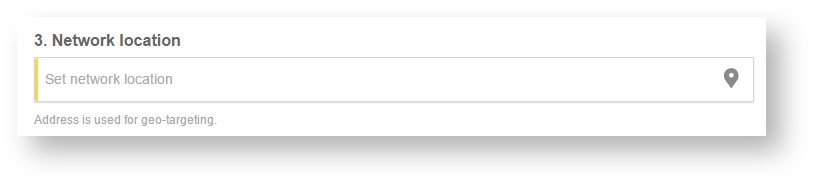
Step 7: In the pop-up window type your location or just move the marker on the map and click on the save button to confirm the selection. This address is used for ad GEO targeting.
Step 7: Click Save

Note: Newly added hotspot are marked as ![]() (Hotspot pending). After the first user connects to the hotspot via SOCIFI, the status will automatically change and appear as
(Hotspot pending). After the first user connects to the hotspot via SOCIFI, the status will automatically change and appear as ![]() (Active) within an hour. Get your first connections to test if it works properly.
(Active) within an hour. Get your first connections to test if it works properly.
