Icomera Moovbox
Tested on Icomera Moovbox M340
The following setting should enable the Icomera Moovbox M340 for the SOCIFI services.
DNS WalledGarden setting is available on firmware version 3.9.1 or higher.
The lab configuration was as follows:
A. Bridge setting.
In the Icomera Configuration Menu select Bridge Groups
Then click the Edit Access point button:
And fill in the DHCP server setting as displayed:
Then select Edit Captive Portal and click
B. Captive portal setting:
Select Radius Based
And fill in following values
RADIUS Server | rad-1-euw-1.socifi.com (example for Europe) |
RADIUS Server 2 | rad-2-euw-1.socifi.com (example for Europe) |
RADIUS Secret | socifi |
NAS ID | icomera_<mac_of_wifi> (the same mac address as mac address in SOCIFI dashboard - see below) |
UAM Server URL | |
UAM Allowed Domains List | Copy/Paste in the IP ranges separate by comma (see below) |
Authentication Port | 1812 |
Accounting Port | 1813 |
B1. Captive portal setting: - for firmware without DNS based WalledGarden - only IP (firmware older than 3.9.1)
Select RADIUS Based
And fill in following values
RADIUS Server | rad-eu-1.socifi.com (example for Europe) |
RADIUS Server 2 | rad-eu-2.socifi.com (example for Europe) |
RADIUS Secret | socifi |
NAS ID | icomera |
UAM Server URL | http://connect.socifi.com |
UAM Allowed List | Copy/Paste in the IP ranges (see below) |
Authentication Port | 1812 |
Accounting Port | 1813 |
We recommend to use this set of RADIUS servers:
For firmware with DNS based WalledGarden (firmware 3.9.1 and above)
The list of domain name to be filled in UAM Allowed Domains List, separated by comma for each services (SOCIFI, CDN) incl login into social networks (Facebook, Google, Twitter).
Copy paste into the UAM Allowed Domains List field:
If you are customer with White Label solution, please add your custom domain (for example mycustomdomain.com) to the Walled Garden list.
If you are a customer with White Label solution, please add your custom domain (for example mycustomdomain.com) to the Walled Garden list.
socifi.com,facebook.com,akamaihd.net,akamai.net,edgecastcdn.net,twitter.com,twimg.com,fastly.net,li-cdn.net,cloudfront.net,fbcdn.net,instagram.com,cdninstagram.com,linkedin.com,licdn.com
For firmware without DNS based WalledGarden - only IP (firmware older than 3.9.1)
The list of IP range to be filled in UAM Allowed List, separated by comma for each services (SOCIFI, CDN) incl login into social networks (Facebook, Google, Twitter, Instagram, LinkedIn).
Copy paste into the UAM Allowed List field:
54.228.255.173/32,54.246.95.103/32,54.83.207.11/32,54.251.105.182/32,54.246.88.74/32,54.204.47.201/32,54.251.110.178/32,54.232.188.193/32,54.232.124.137/32,13.32.0.0/15,52.84.0.0/15,52.222.128.0/17,54.182.0.0/16,54.192.0.0/16,54.230.0.0/16,54.239.128.0/18,54.239.192.0/19,54.240.128.0/18,70.132.0.0/18,71.152.0.0/17,99.84.0.0/16,143.204.0.0/16,204.246.164.0/22,204.246.168.0/22,204.246.174.0/23,204.246.176.0/20,205.251.192.0/19,205.251.249.0/24,205.251.250.0/23,205.251.252.0/23,205.251.254.0/24,216.137.32.0/19,216.239.32.0/19,64.233.160.0/19,66.249.64.0/19,72.14.192.0/18,209.85.128.0/17,66.102.0.0/20,74.125.0.0/16,64.18.0.0/20,207.126.144.0/20,173.194.0.0/16,216.58.192.0/19,108.177.8.0/21,172.217.0.0/19,108.177.96.0/21,31.13.24.0/21,31.13.64.0/18,45.64.40.0/22,66.220.144.0/20,69.12.56.0/21,69.171.224.0/19,69.63.176.0/20,74.119.76.0/22,103.4.96.0/22,129.134.0.0/16,157.240.0.0/16,173.252.64.0/18,179.60.192.0/22,185.60.216.0/22,204.15.20.0/22,69.12.56.0/21,103.252.112.0/22,104.244.40.0/21,185.45.4.0/21,188.64.224.0/21,192.44.68.0/23,192.48.236.0/23,192.133.76.0/22,199.16.156.0/22,199.59.148.0/22,199.69.58.0/23,199.96.56.0/21,202.160.128.0/22,192.229.128.0/17,93.184.208.0/20,91.225.248.0/23,103.20.94.0/23,108.174.0.0/22,108.174.4.0/24,108.174.8.0/22,108.174.12.0/23,144.2.0.0/22,144.2.192.0/24,216.52.16.0/23,216.52.18.0/24,216.52.20.0/23,216.52.22.0/24,65.156.227.0/24,8.39.53.0/24,185.63.144.0/24,185.63.147.0/24,199.101.161.0/24,64.152.25.0/24,8.22.161.0/24
C. Applying changes
When all the configuration done, you MUST Save and Reboot the device to make the changes active
D. Add a new hotspot to SOCIFI Dashboard
You'll need to use the MAC address when adding new Hotspot in the Dashboard. Note it (copy) down:
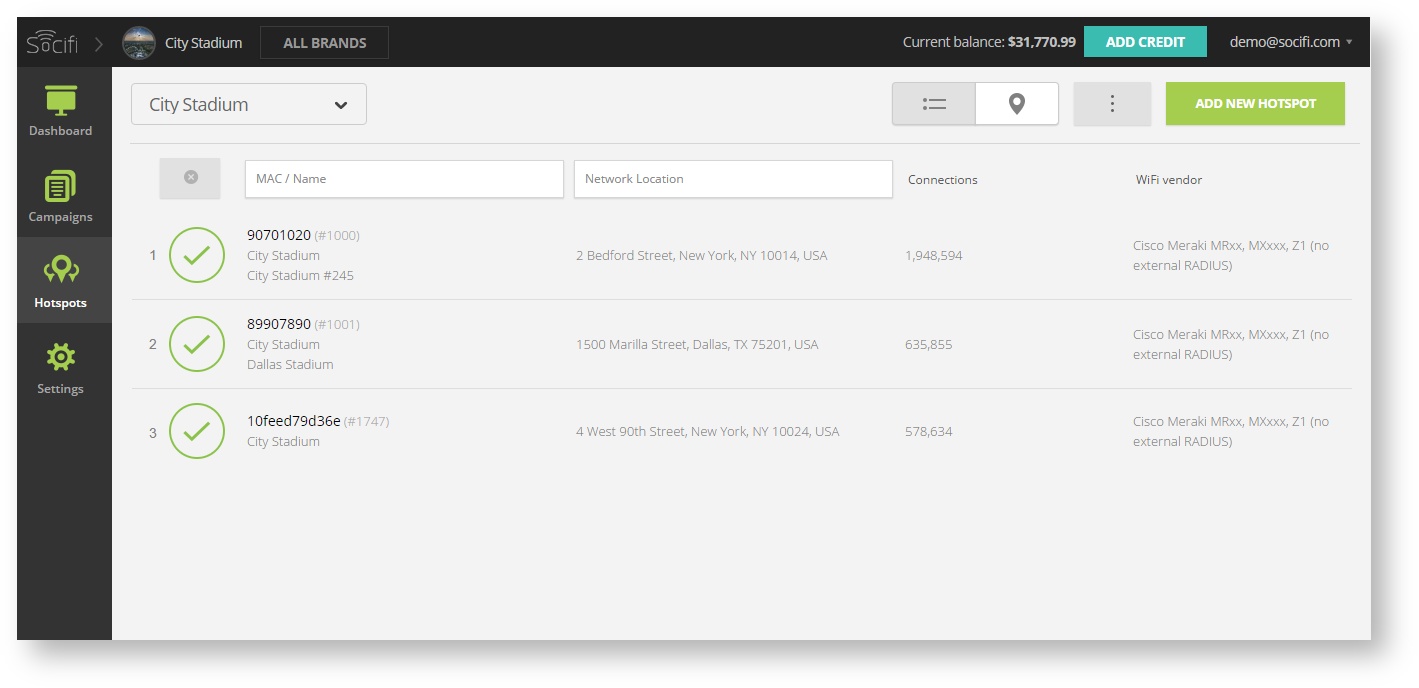
Step 1: Login to SOCIFI Dashboard
Step 2: Click on the "Hotspots" tab on the left sidebar
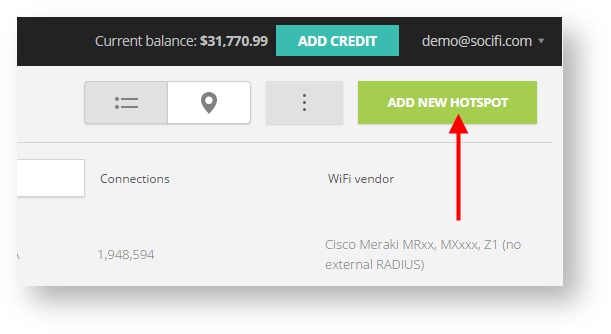
Step 3: Click on the “Add a new hotspot” button located on the top right corner on the screen (pictured below)
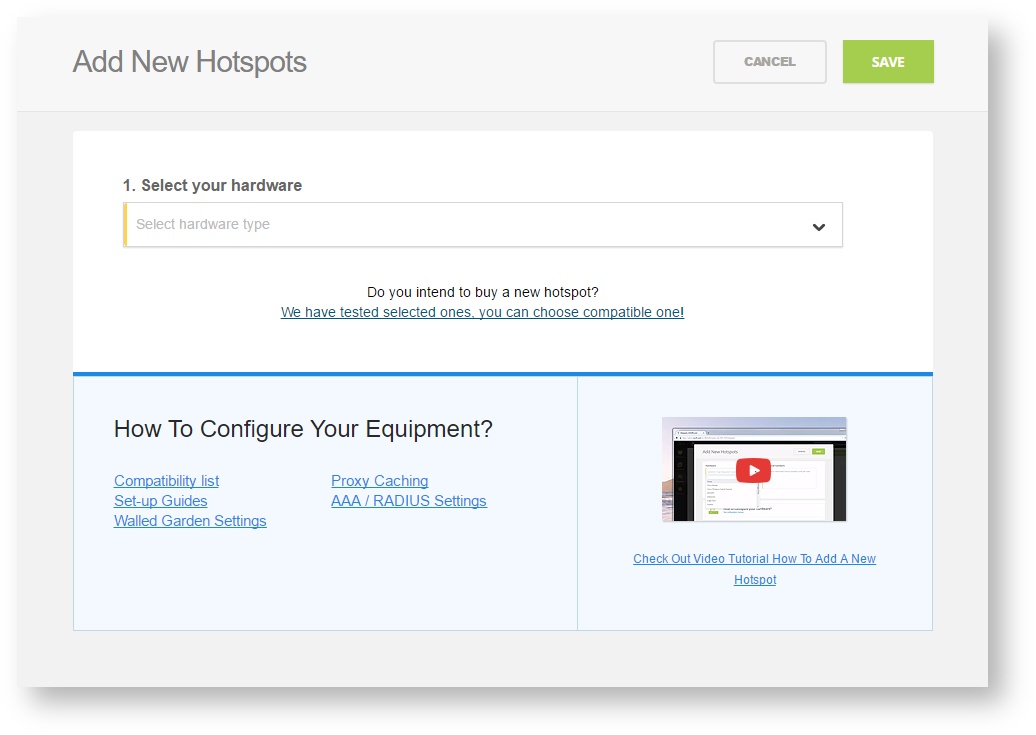
Note: A pop-up window will appear (below)
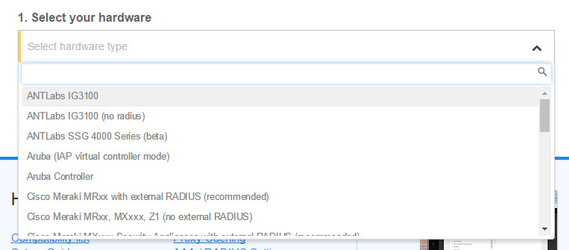
Step 4: Select the Wi-Fi hardware manufacturer from the drop down menu
Step 5: Enter the serial number or MAC address (depending on the specific equipment manual) of your equipment. You can add multiple hotspots at once.
Step 6: Set your Network location (this step is essential for correct ad targeting)
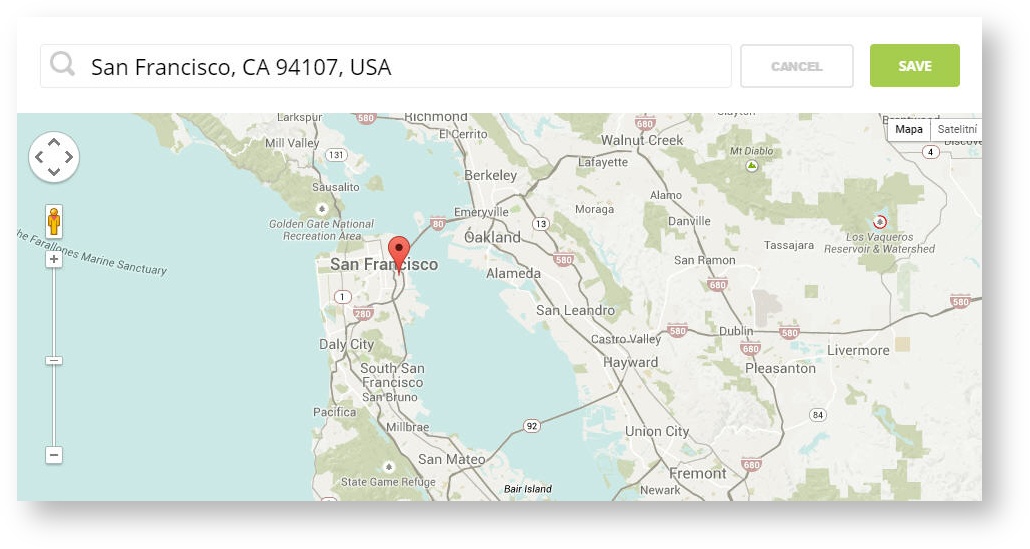
Step 7: In the pop-up window type your location or just move the marker on the map and click on the save button to confirm the selection. This address is used for ad GEO targeting.
Step 7: Click Save
Note: Newly added hotspot are marked as (Hotspot pending). After the first user connects to the hotspot via SOCIFI, the status will automatically change and appear as (Active) within an hour. Get your first connections to test if it works properly.


