Ruckus AP configuration (standalone) - ZF7372
Tested versions:
| Model | Type | Firmware version | Description | Limitations |
|---|---|---|---|---|
| ZF7372 | AP | 100.0 | standalone | no speed control |
Ruckus AP as a separate entity, completely meets the requirements for cooperation with SOCIFI. The solution is based on an integrated CoovaChilli hotspot and therefore has a domain base Walledgarden with no limit to the number of records. AP also has a built-in DHCP and DNS servers, so it is fully ready for use with SOCIFI. Configuration is quick and easy.
Recommended version of firmware is 100.0 or newest.
Admin MAC address
MAC address for setting SOCIFI Dashboard can be found after the login to the web portal management of device in the tab * Status > Device * at line MAC Address.

Hotspot and WalledGraden settings
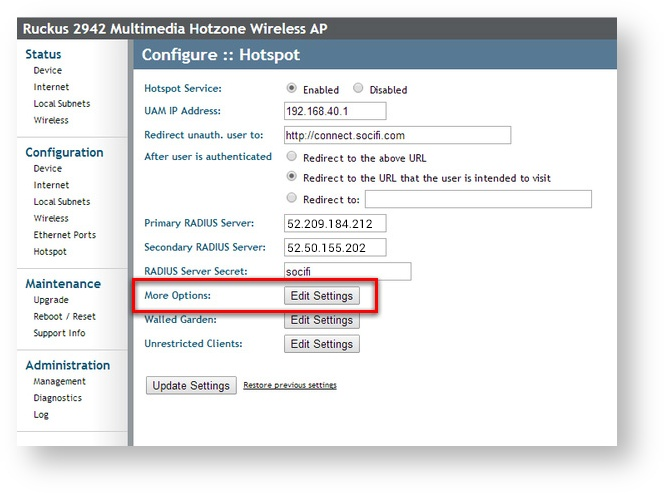
Hotspot setting is placed in the menu Configure > Hotspot. You need to fill in and set following parameters:
| Hotspot Service | set Enable |
| UAM IP Address | set IP for the default Subnet Gateway for the end user connections to the WiFi (see below - LocalSubnet setting) |
| Redirect unauth. user to | http://connect.socifi.com/ (mind the trailing slash) |
| After user is authenticated | set Redirect to and enter http://connect.socifi.com/api/v1/out/session |
| Primary RADIUS Server | set the specific primary radius server for selected region |
| Secondary RADIUS Server | set the specific primary radius server for selected region |
| RADIUS Server SOCIFI | socifi |
We recommend to use this set of RADIUS servers:

Click on More Options and set:
| Temporaily block user after | 10 unsuccessful logins |
| Redirect temp. blocked user to | leave empty |
| MAC Authentication | Disabled |
| NAS ID | random name of AP/hotspot |
| WISPr Location ID | isocc=,cc=,ac=,network= |
| WISPr Location Name | leave empty |
| Location Description | leave empty |
| Accounting Update Interval | write * 10 * minutes |
| Interim Redirect Interval | write * 0 * minutes |
| Maximum Session Time | write * 1440 * minutes |
| Grace Period | write * 60 * minutes |
| UAM Port with HTTP | specify 3990 |
| UAM Port with HTTPS | specify 3992 |
| RADIUS Disconnect Port | specify 3799 |
| SWAP Input and output Counters | set Disable |
| Encode User Password | set Disable |
| UAM Shared Secret | leave empty |

Click on Walled Garden and set subsequently set following domain names:
Enter following Walled garden ranges:
If you are a customer with the White Label solution, please add your custom domain (for example *.mycustomdomain.com) to the Walled Garden list.
*.socifi.com
*.facebook.com
*.akamaihd.net
*.akamai.net
*.edgecastcdn.net
twitter.com
*.twitter.com
*.twimg.com
*.fastly.net
*.li-cdn.net
*.cloudfront.net
facebook.com
*.fbcdn.net
*.instagram.com
*.cdninstagram.com
instagram.com
*.linkedin.com
*.licdn.com
linkedin.com
facebook.com and twitter.com (Yes, twice. Once with and once without the asterisk)
Pages related to Walled Garden issues
Due to Ruckus firmware behavior end-user devices might not be able to reach some (mainly CDN and cloud) domains from walled garden list. This can cause wrong rendering of the captive portal.
The new IP ranges (indented in the list below) were added on April 2018.
(direct link to IPs list in JSON format: https://ip-ranges.amazonaws.com/ip-ranges.json)
As a workaround you have to add static IP's shown bellow to adjust firmware behavior and to be able to start monetizing your network immediately.
Work-around solution is to add the following IP ranges to the Walled Garden List:
13.32.0.0/15
13.35.0.0/16
13.54.63.128/26
13.59.250.0/26
34.195.252.0/24
35.162.63.192/26
52.15.127.128/26
52.46.0.0/18
52.52.191.128/26
52.57.254.0/24
52.66.194.128/26
52.78.247.128/26
52.84.0.0/15
52.199.127.192/26
52.212.248.0/26
52.220.191.0/26
52.222.128.0/17
54.182.0.0/16
54.192.0.0/16
54.230.0.0/16
54.233.255.128/26
54.239.128.0/18
54.239.192.0/19
54.240.128.0/18
70.132.0.0/18
71.152.0.0/17
99.84.0.0/16
143.204.0.0/16
204.246.164.0/22
204.246.168.0/22
204.246.174.0/23
204.246.176.0/20
205.251.192.0/19
205.251.249.0/24
205.251.250.0/23
205.251.252.0/23
205.251.254.0/24
216.137.32.0/19

Local Subnet setting
To connect end users to WiFi and internet connection we need to select local address subnet LocalSubnet. For example we set LocalSubnet 1.
This setting is placed in menu Configuration LocalSubnet LocalSubnet1 . Fill in the following:
| Subnet | allow Enable |
| Local IP Address | set IP address the same as in the Hotspot setting - UAM IP Address |
| Subnet Mask | select appropriate Network mask due to the size and amount of the end users - default 255.255.255.0 |
| DHCP Server | allow DHCP server Enable |
| Starting Address | set the starting address of the range for DHCP end users |
| Maximum DHCP Users | select maximal amount of end users due to the used range of the network |
| Access VLAN | select number of free VLAN (802.11q) |

Wireless setting
For example we select setting Wireless1 placed in the menu _*Configuration::Wireless::Wireless 1: . Fill in with the following:
| Wireless Network | specify the random name of the network visible in the management of device. It is not visible elsewhere |
| Wireless Availability? | allow Enable |
| Broadcast SSID | allow Enable |
| SSID | set the name of the network connected to via WiFi, e.g. Socifi@free |
| Treshold Settings | leave set as it is |
| Rate Limiting | leave set as it is |
| AccessControl | leave set as it is |
| Packet Forward | select Local Subnet NAT and Route to WAN |
| HotSpot Service | select the name of the hotspot - default hotspot0 |
| Local Subnet | select the name of the local subnet configured above Local Subnet 1 |
| Insert DHCP option 82? | set Disable |
| Encryption Method | set Disable |

Add a new hotspot to SOCIFI Dashboard
Step 1: Login to SOCIFI Dashboard
Step 2: Click on the "Hotspots" tab on the left sidebar
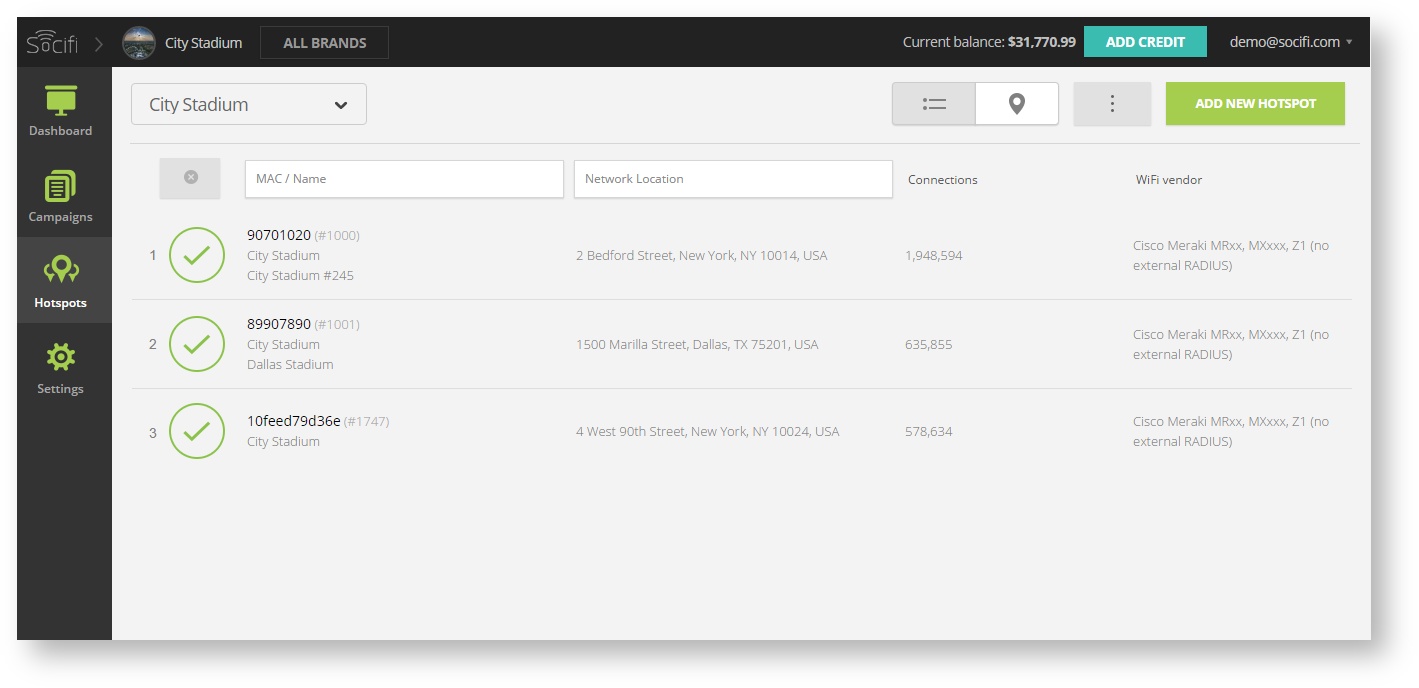
Step 3: Click on the “Add a new hotspot” button located on the top right corner on the screen (pictured below)
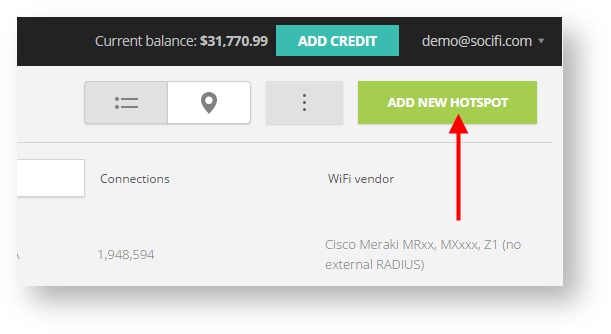
Note: A pop-up window will appear (below)
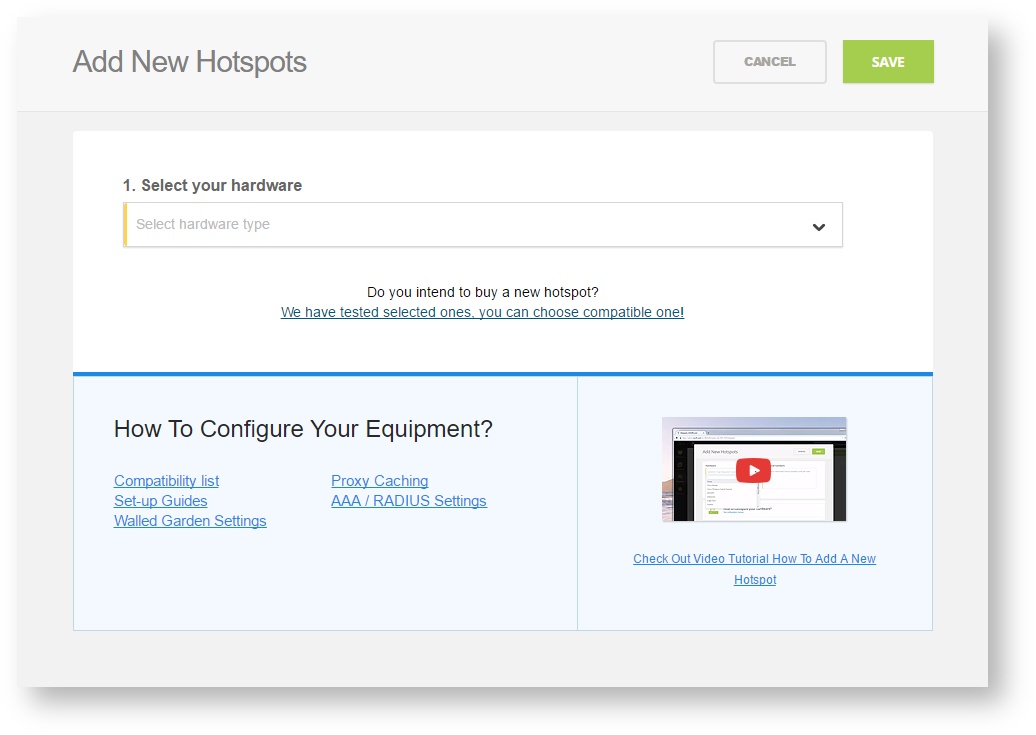
Step 4: Select the Wi-Fi hardware manufacturer from the drop down menu

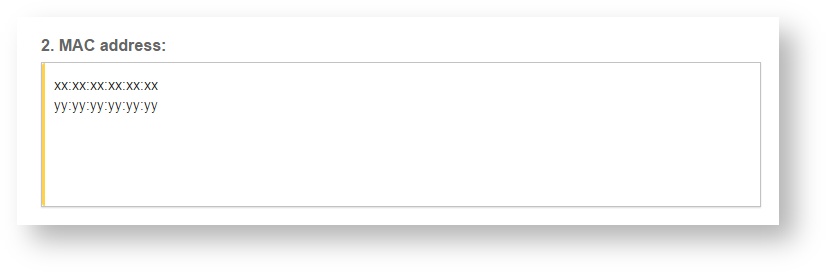
Step 5: Enter the serial number or MAC address (depending on the specific equipment manual) of your equipment. You can add multiple hotspots at once.
Step 6: Set your Network location (this step is essential for correct ad targeting)
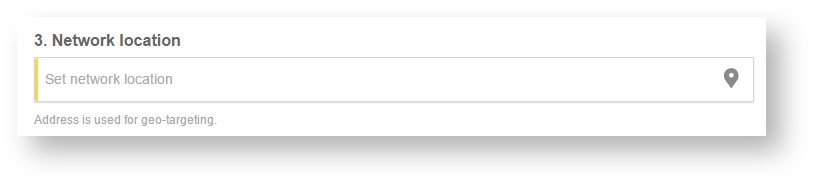
Step 7: In the pop-up window type your location or just move the marker on the map and click on the save button to confirm the selection. This address is used for ad GEO targeting.
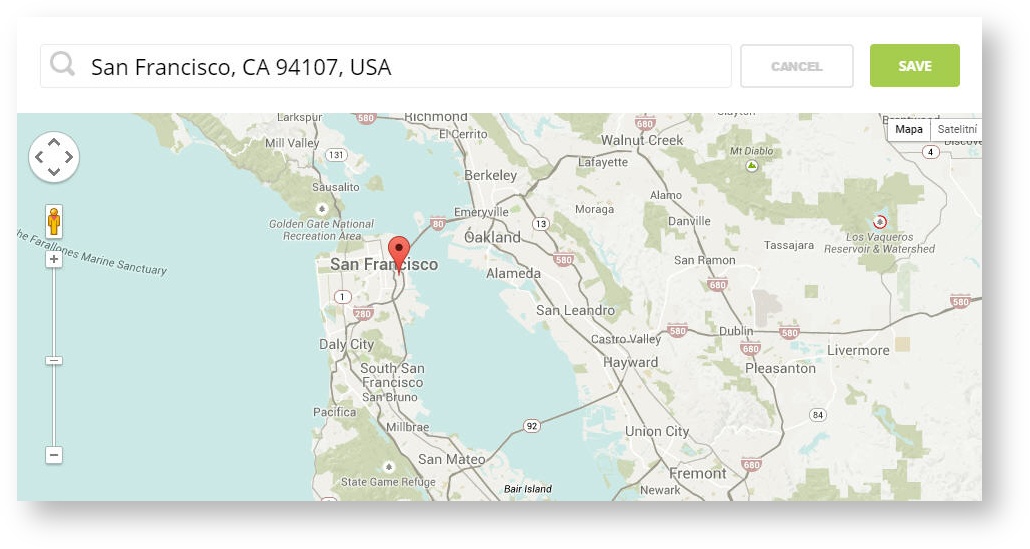
Step 7: Click Save

Note: Newly added hotspot are marked as ![]() (Hotspot pending). After the first user connects to the hotspot via SOCIFI, the status will automatically change and appear as
(Hotspot pending). After the first user connects to the hotspot via SOCIFI, the status will automatically change and appear as ![]() (Active) within an hour. Get your first connections to test if it works properly.
(Active) within an hour. Get your first connections to test if it works properly.
