Meraki without external RADIUS authentication
SOCIFI is proud to be Cisco Meraki Technology Partner
Use this setting only if RADIUS packets are blocked on your network. This configuration doesn't support Bandwidth and Session time management thru SOCIFI. If you are interested in the full compatibility and in all features we offer please follow set up guides with RADIUS authentication:
This article applies to the following models:
Wireless:
MR12, MR16, MR18, MR26, MR34, MR62, MR66, MR72
Security Appliances:
MX60, MX60W, MX64, MX64W, MX80, MX100, MX400, MX600
Z1
1. Log into Meraki Dashboard
And connect your device to the Internet.
2. Set-up Access control
Enter Click Through and Walled Garden Domain Names.
Enter following Walled garden ranges:
If you are a customer with the White Label solution, please add your custom domain (for example *.mycustomdomain.com) to the Walled Garden list.
*.socifi.com
*.facebook.com
*.akamaihd.net
*.akamai.net
*.edgecastcdn.net
twitter.com
*.twitter.com
*.twimg.com
*.fastly.net
*.li-cdn.net
*.cloudfront.net
facebook.com
*.fbcdn.net
*.instagram.com
*.cdninstagram.com
instagram.com
*.linkedin.com
*.licdn.com
linkedin.com
facebook.com and twitter.com (Yes, twice. Once with and once without the asterisk)
Pages related to Walled Garden issues
Don't you see the options to set "Splash page", "Access control" and/or DNS-Based Walled Garden Support under "Configure" tab? Just ask Meraki via technical support for firmware upgrade:
Feel free to use this template
Dear Meraki support,

I'd like you to get the access to the features described below:

https://docs.meraki.com/display/MX/Splash+page
https://docs.meraki.com/display/MX/Access+Control
https://kb.meraki.com/knowledge_base/adding-domains-to-the-walled-garden
I'm seting up my Meraki Dashboard to be used with SOCIFI.com service (https://marketplace.cisco.com/catalog/companies/socifi/products/socifi) and these features are required.
Please update the device's firmware at your earliest convenience.
Thank you in advance.
Change settings: follow the picture below
3. Set-up Splash Page
Create Custom Splash page and enter your SplashAccess Details.
Go to Configure > Splash page > enter Custom splash URL
http://connect.socifi.com/
Change settings: follow the picture below
4. RADIUS server
there is no need to set an external RADIUS server at the moment.
5. Add a new hotspot to SOCIFI Dashboard
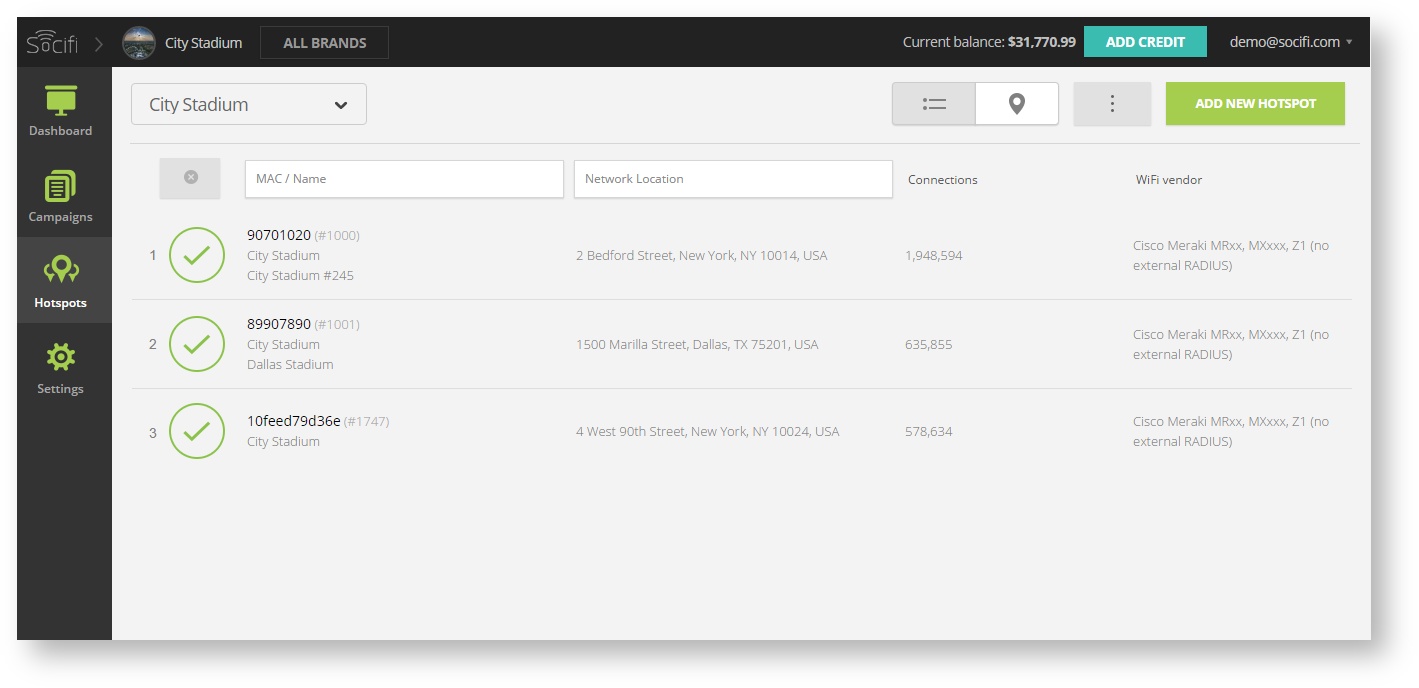
Step 1: Login to SOCIFI Dashboard
Step 2: Click on the "Hotspots" tab on the left sidebar
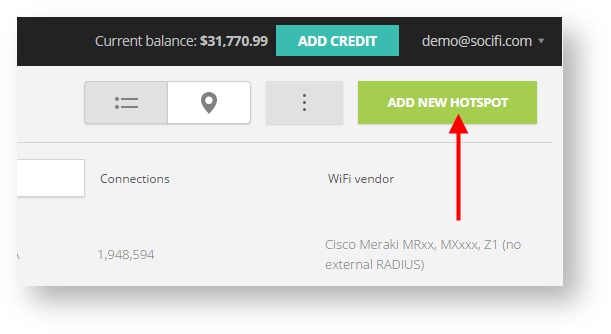
Step 3: Click on the “Add a new hotspot” button located on the top right corner on the screen (pictured below)
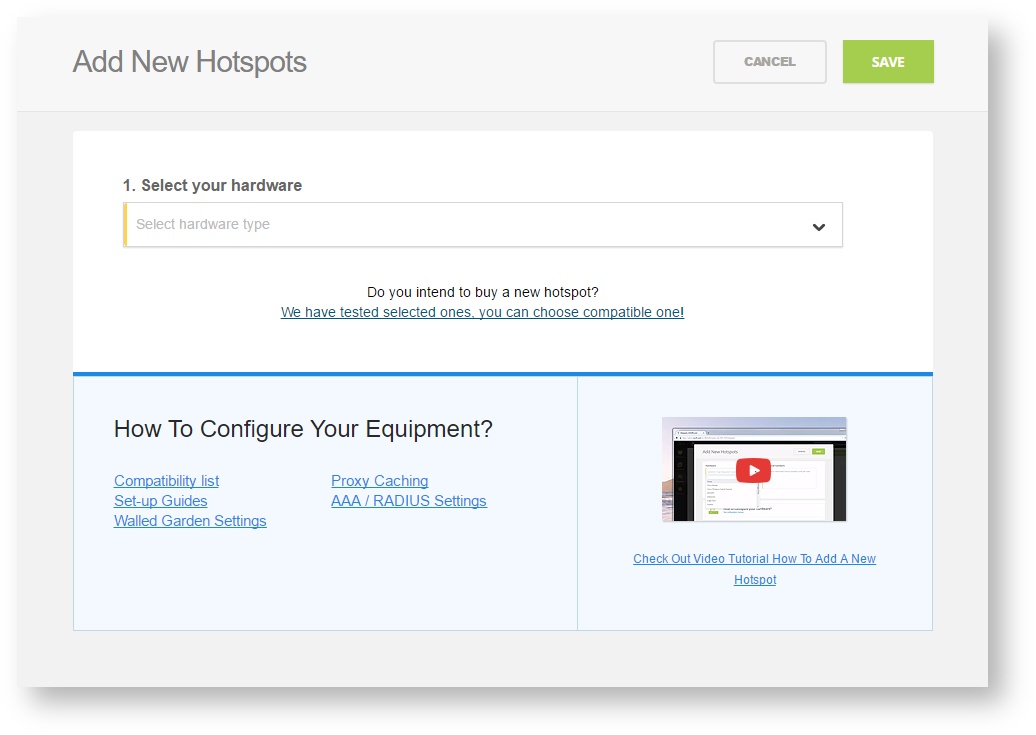
Note: A pop-up window will appear (below)
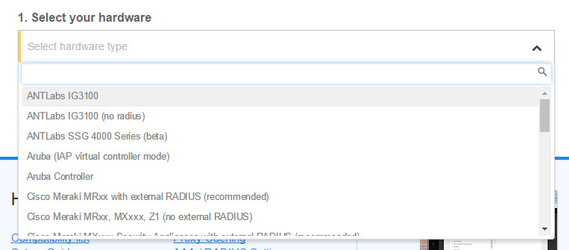
Step 4: Select the Wi-Fi hardware manufacturer from the drop down menu
Step 5: Enter the serial number or MAC address (depending on the specific equipment manual) of your equipment. You can add multiple hotspots at once.
Step 6: Set your Network location (this step is essential for correct ad targeting)
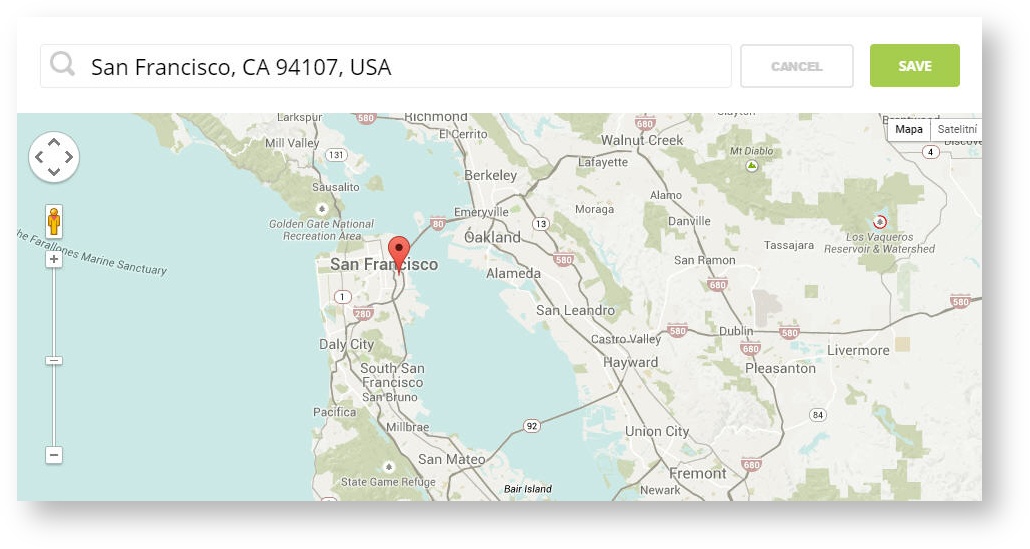
Step 7: In the pop-up window type your location or just move the marker on the map and click on the save button to confirm the selection. This address is used for ad GEO targeting.
Step 7: Click Save
Note: Newly added hotspot are marked as (Hotspot pending). After the first user connects to the hotspot via SOCIFI, the status will automatically change and appear as (Active) within an hour. Get your first connections to test if it works properly.


