Mikrotik - Multiple Hotspots on a Single Device
This manual describes the configuration of multiple hotspots. The following setup presumes correctly configured RADIUS servers and Walled Garden from the previous hotspot setup.
1.1 Create a new Bridge Interface
Bridge / Bridge / Add / New Interface
| Name | bridge-HS2 (create a unique name) |
|---|---|
| ARP | enabled |

1.2 Add desired ports to the bridge
Bridge / Ports / Add / New Bridge Port
| Interface | select desired interface (ether or VLAN) |
|---|---|
| Bridge | select the new bridge |

2. Definition of the additional SOCIFI hotspot
2.1 Run the definition of hotspot
IP / Hotspot / Servers / Hotspot Setup
- HotSpot Interface: bridge-HS2
- Local Address of Network: check if the suggested address is unique within all defined hotspots
- Address Pool of Network: check if the suggested pool is unique within all defined hotspots
- Select Certificate: none
- IP Address of SMTP Server: 0.0.0.0
- DNS Servers: Local Address of Network / 8.8.8.8 / 8.8.4.4
First DNS server address must be the interface address!! - DNS Name: hotspot2.socifi.com (required - create a unique name within the defined hotspots)
This domain could be adjusted to fit your needs. For example hotspot2.mydomain.com - Name of Local HotSpot User: user

3. Change Hotspot settings
3.1 Remove Shared User:
IP / Hotspot / User Profiles / Default / General
| Shared Users | clear |
|---|

3.2 Change hotspot name
IP / Hotspot / Server / hotspot1 (the new created hotspot)
| Name | MK_ <serial number of Mikrotik><number of the hotspot>, for example "MK_3F0602DFA1442, where "3F0602DFA144" is serial number of Mikrotik and "2" is number of the hotspot |
|---|---|
| Addresses per MAC | 1 |

3.3 Change the Hotspot Server Profile
IP / Hotspot / Server Profiles / select hsprof2 (new created profile - see Profile field on the Hotspot Server window )
3.3.1 General Tab
| HTML Directory | change the HTML directory name to the unique one (eg hotspot2) the value of this field is important for the Change Login Script |
|---|

3.3.2 Login Tab
| HTTP PAP | checked |
|---|

| Use RADIUS | checked |
|---|---|
| Default Domain | |
| Location ID | |
| Location Name | |
| Mac Format | XX:XX:XX:XX:XX:XX |
| Accounting | checked |
| Interim-Update | 00:01:00 |
| Nas Port Type | 19 (wireless-802.11) |

4. Creating a definition for hotspot login
Script definition for content of hotspot / login.html
We generate a hotspot / login.html file the same way: System / Scripts / +
Name: ReplaceLogin2

Click Apply and than run script: Run Script (change takes the effect by changing the date and time of file: File hotspot2/login.html). Modify and copy & paste following script:
If you are customer with White Label solution, please change http://connect.socifi.com to your custom domain (for example http://connect.mycustomdomain.com)
Some RouterOS devices have default storage on the flash memory. In this case, it is necessary to modify part of this script “/file” in according to its actual storage name, e.g.: "/file set flash/hotspot2/login.html contents=" supposing that link "flash/hotspot2/login.html" exists. It is necessary to check it in the list of files in the "File" module.
Check if the HTML Directory (/hotspot2/) of the hotspot is set correctly according to the Hotspot Server Profile setting. See chapter 3.3.1 of this manual.
Important!
Modify the script. Change the value ABCDEFGHIJKLX in the script to <serial number of Mikrotik><number of the hotspot>, for example "3F0602DFA1442", where "3F0602DFA144" is serial number of your Mikrotik device and "2" is number of the hotspot. See chapter 3.2 of this manual.
Important!
Use this modified serial number also for registering of the hotspot in the SOCIFI Dashboard.
/file set "hotspot2/login.html" contents="<html>
<head>
<meta http-equiv=\"refresh\" content=\"0; url=http://connect.socifi.com/?rad=yes&serial=ABCDEFGHIJKLX&client_mac=\$(mac)&client_ip=\$(ip)&userurl=\$(link-orig)&login_url=\$(link-login-only)\" />
<meta http-equiv=\"pragma\" content=\"no-cache\">
<meta http-equiv=\"expires\" content=\"-1\">
</head>
</html>"
5. Add the new hotspot to the SOCIFI Dashboard
Use the modified serial number from the script for registration.
Step 1: Login to SOCIFI Dashboard
Step 2: Click on the "Hotspots" tab on the left sidebar
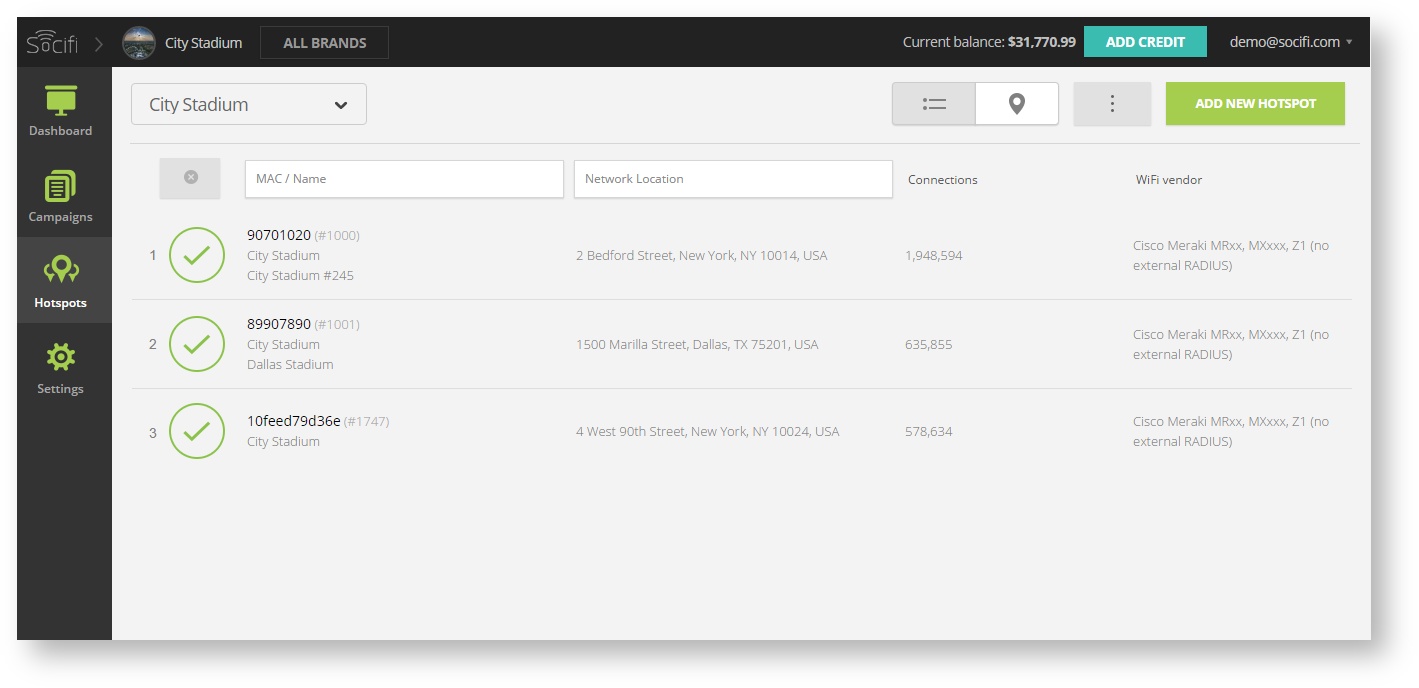
Step 3: Click on the “Add a new hotspot” button located on the top right corner on the screen (pictured below)
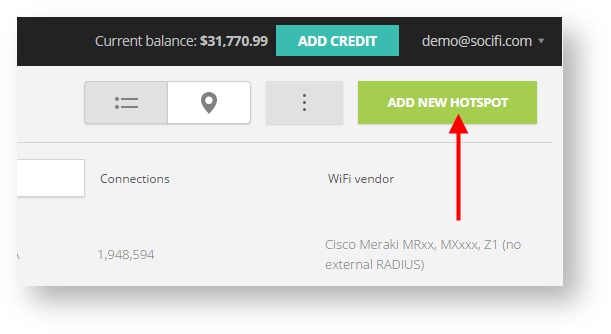
Note: A pop-up window will appear (below)
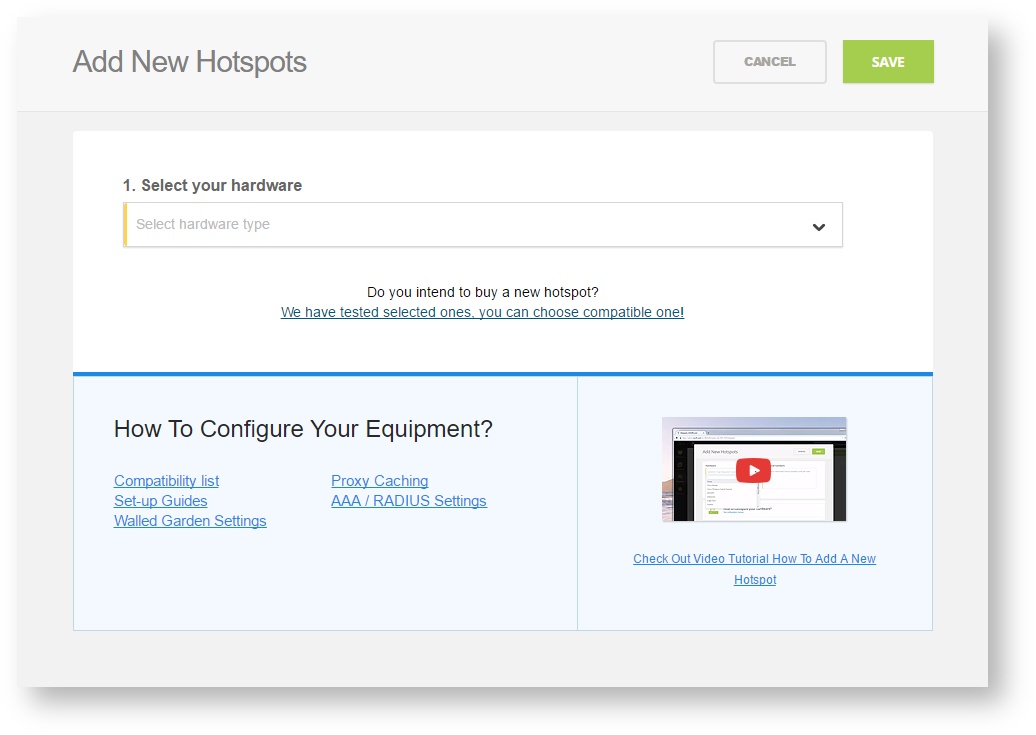
Step 4: Select the Wi-Fi hardware manufacturer from the drop down menu

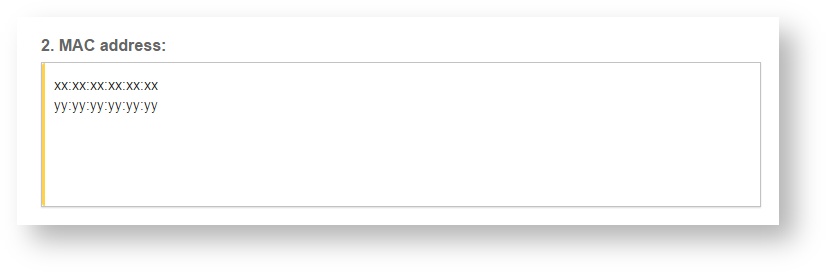
Step 5: Enter the serial number or MAC address (depending on the specific equipment manual) of your equipment. You can add multiple hotspots at once.
Step 6: Set your Network location (this step is essential for correct ad targeting)
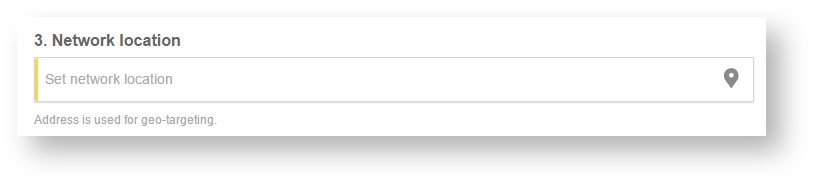
Step 7: In the pop-up window type your location or just move the marker on the map and click on the save button to confirm the selection. This address is used for ad GEO targeting.
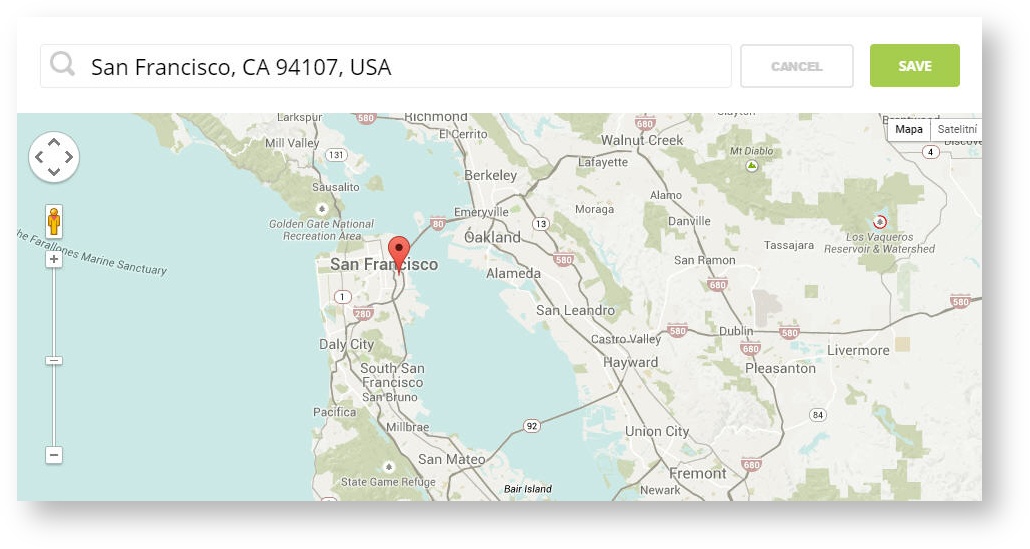
Step 7: Click Save

Note: Newly added hotspot are marked as ![]() (Hotspot pending). After the first user connects to the hotspot via SOCIFI, the status will automatically change and appear as
(Hotspot pending). After the first user connects to the hotspot via SOCIFI, the status will automatically change and appear as ![]() (Active) within an hour. Get your first connections to test if it works properly.
(Active) within an hour. Get your first connections to test if it works properly.
